Panel Cookies
yt_link
insta_link
fb_link
twitter_link
Blog#30 - Brushed drone

Last tutorials

All about Arduino PWM frequencies
Smallest ESC based on ARDUINO
Debug Arduino and ESP with PlatformIO
Homemade Best Two Hand Multimeter with Arduino
Homemade Baby White Noise Generator

ADVERTISERS


Arduino brushed drone V4.0
Help me by sharing this post

Go back ↞ See other blog→

Author: ELECTRONOOBS
03/12/2018
As seen in previous post 
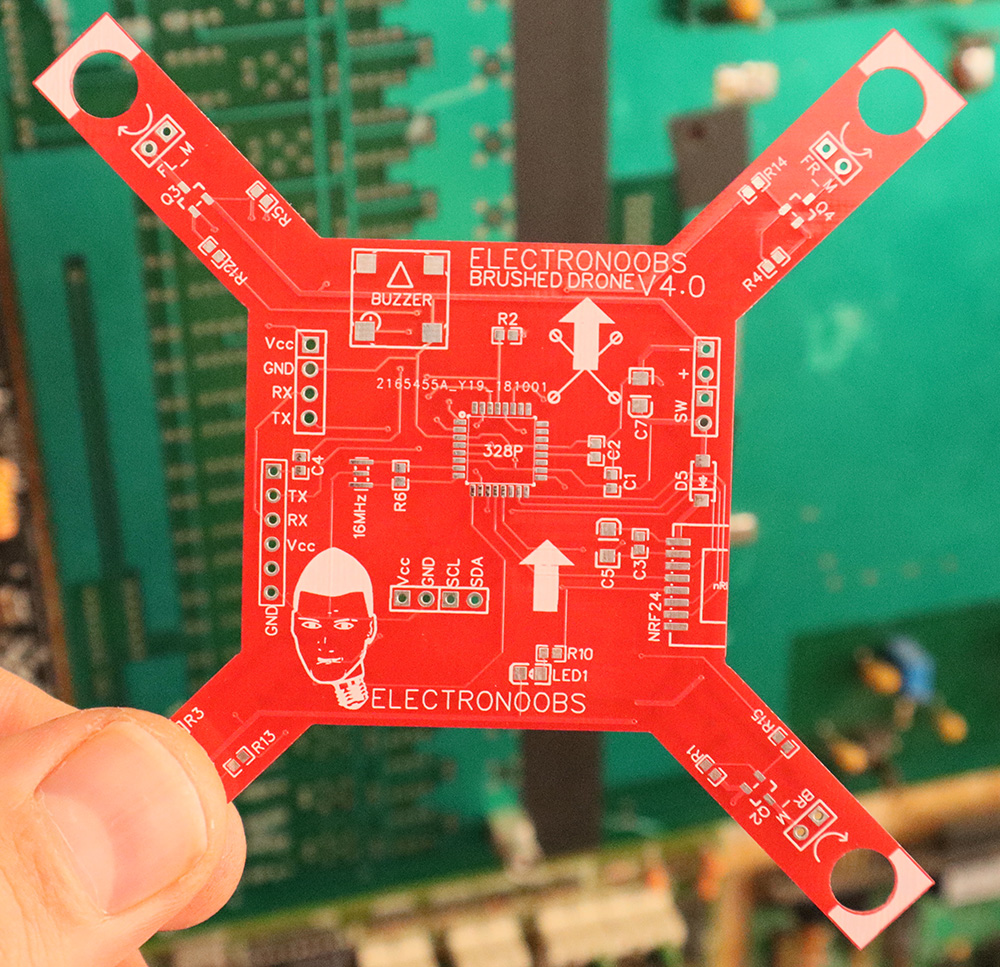
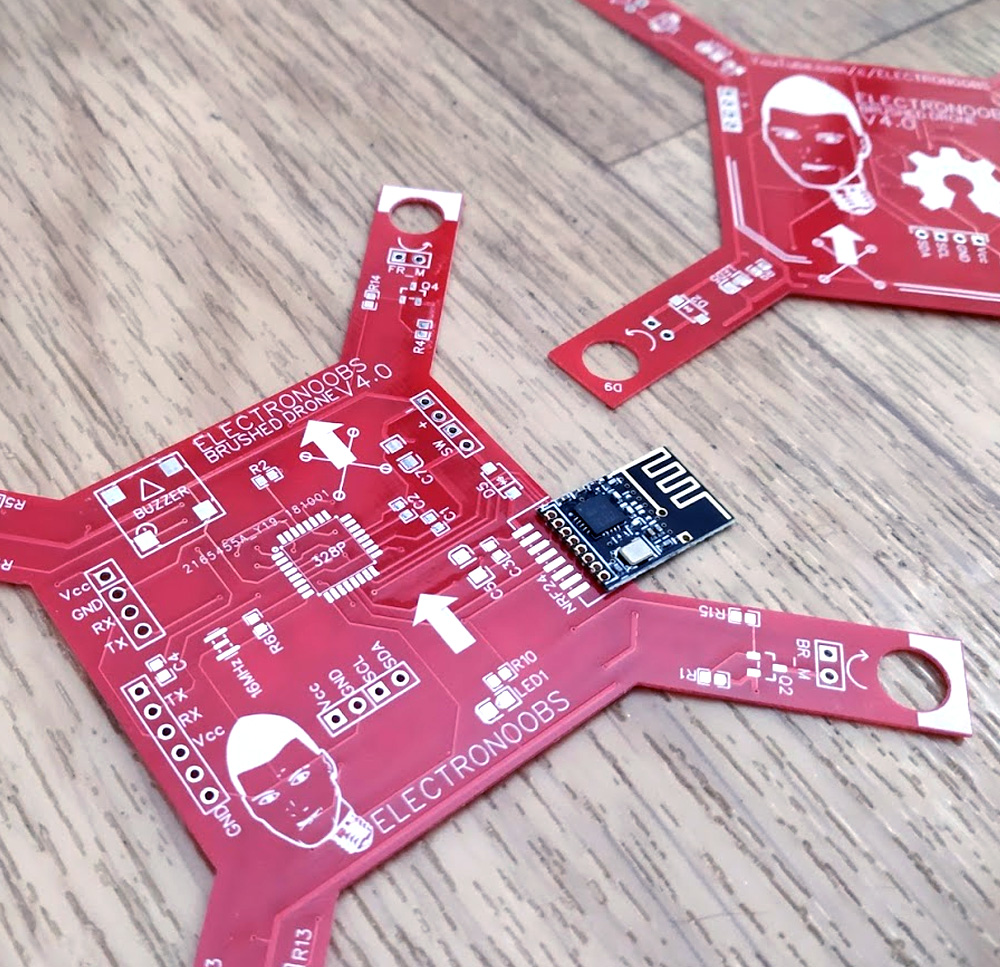
like this one here, I'm working on a brushed mini drone, meaning the drone will be small and work with coreless brushed drone. Usually, dornes have brushless motors due to their high speeds and performance. But those are quite expensive. That's why I'm working on a low cost drone that can be made and programed in Arduinom IDE.

Before the official tutorial post here are some of the enw features of this board that are different from the other versions. I really hope this one will perform better and get us a good flight.

To order your boards, use JLCPCB.com and select your color.


First of all, the use if a smaller version of the NRF24 radio module. Now I'm using the SMD pcb version that gets soldered directly on the PCB with the antenna side on the exterior of the board to avoid noise from the rest of the circuit. Now the mini coreless brushed motors will get glued on each arm in a hole with the same diameter as the motors. The new boar has a buzzer as well for sound notifications and some LEDs on the bottom side of each arm to make it look better.

To get the 3.3V from 3.7 of the lipo battery, I'm now using a simple diode with 0.5 voltage drop so we don't need a volate regulator anymore. I hope this won't be a problem. In previous versions, due to the voltage regulator, the NRF24 radio connection was lost with current peaks from the motors.


On the side there is the UART port so we could program the ATmega328 chip using an external FTDI module. There is also a place for a HC06 bluetooth moduel so we could do some more stuff with it, maybe a bluetooth control of the mini drone. We will see...

One of the biggest changes is the thickness of the board. Now it is only 0.6mm. That might be too elastic and create vibrations and give errors to the IMU module. But at the same time, the board is almost weightless. Also, there is no more copper fill of the board to make it weght less, sice taht was the main problem in the last version and the drone couldn't fly. Stay tuned for more upgates!

Consider supporting me on PATREEON.


Help me by sharing this post

Go back ↞ See other blog→


Affiliate Disclosure

ADVERTISERS


PCBWAY PCB service


Curso Arduino Online nivel Intermedio