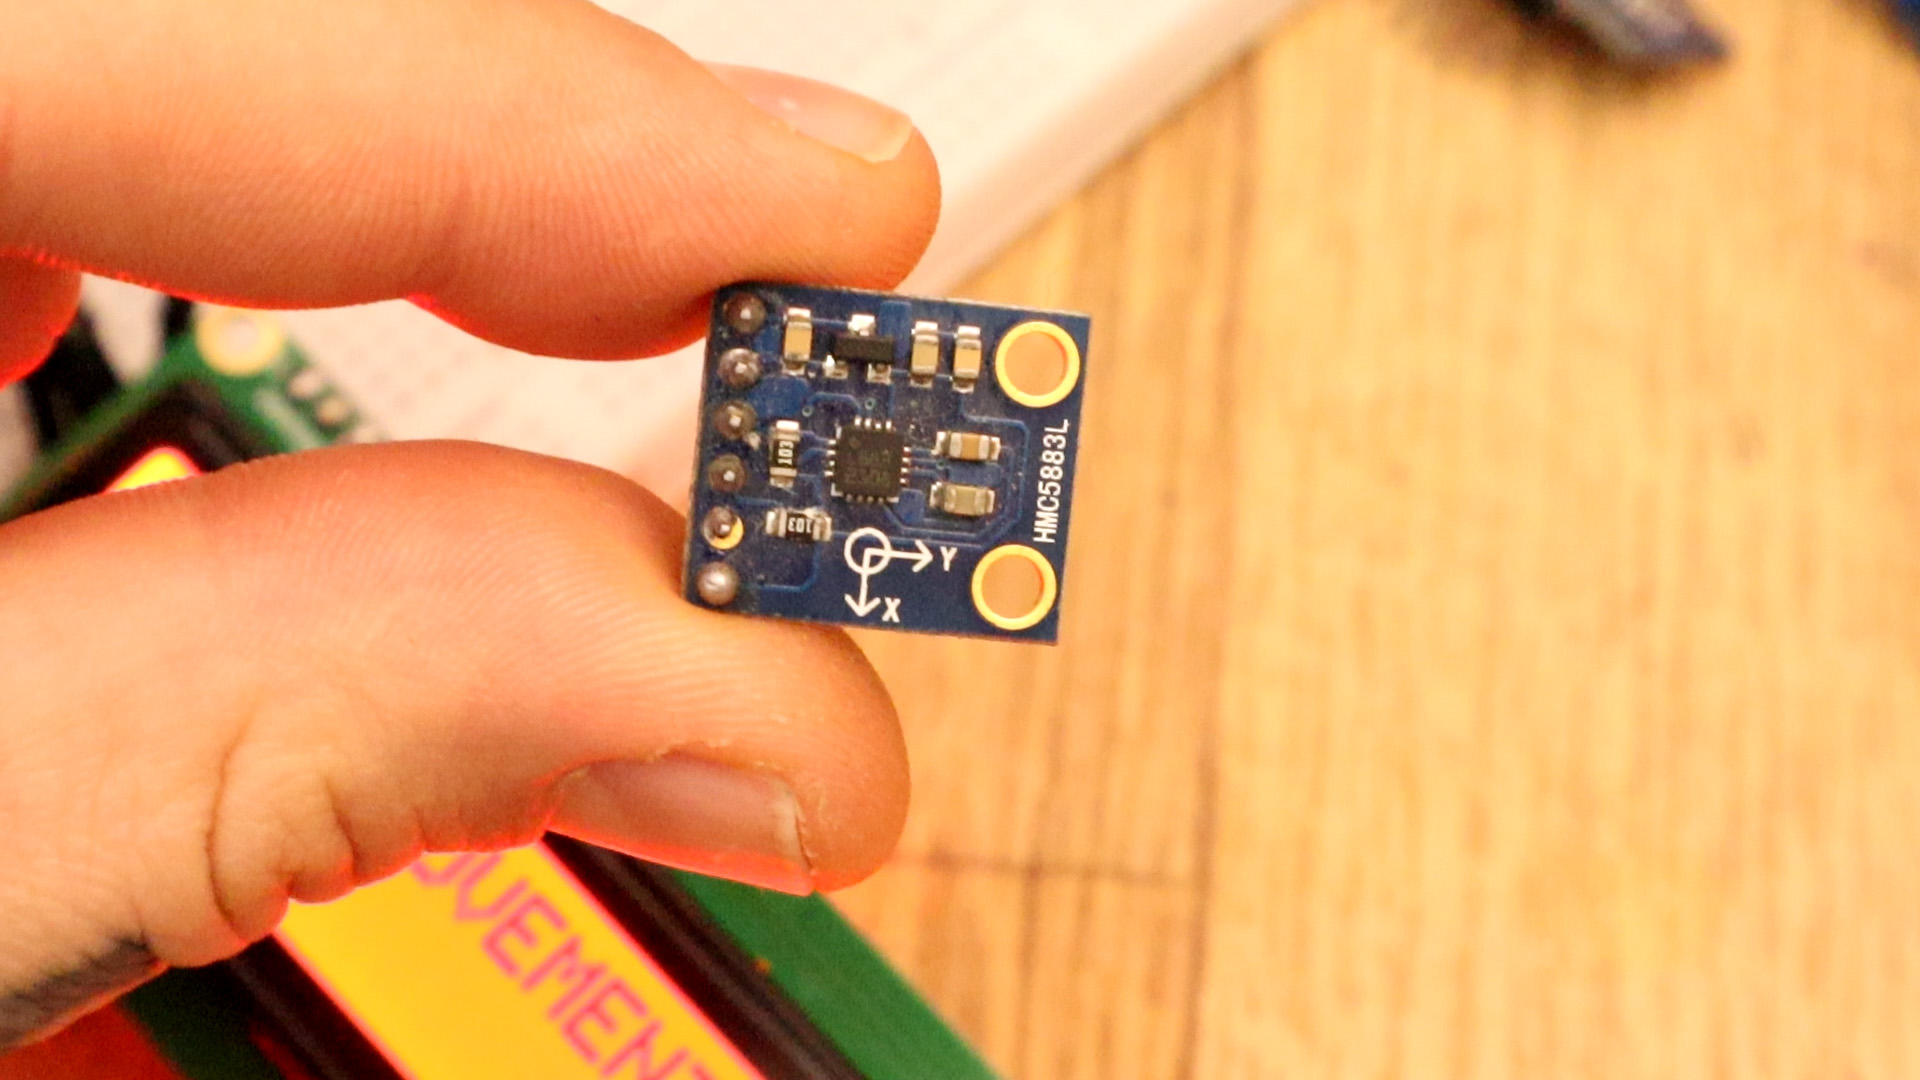
In this tutorial we will review the characteristics of the digital compass or magnetometer HMC5883L, we will explain the connection and we will make examples with Arduino.
The HMC5883L is a 3-axis magnetometer, with this we can read the components of the magnetic field present, in this way knowing the direction of the earth's magnetic field we can calculate the orientation with respect to the magnetic north of the earth, this as long as our sensor does not is exposed to some external magnetic field or some metallic object that alters the Earth's magnetic field.
The connections are pretty easy, see the image below with the breadboard circuit schematic. The HMC5883L uses i2c communication so connect SCL to A5 of the Arduino and SDA to A4 of the Arduino. Do the same for the i2c LCD incase that you want to print the results on the LCD. The LED is extra.
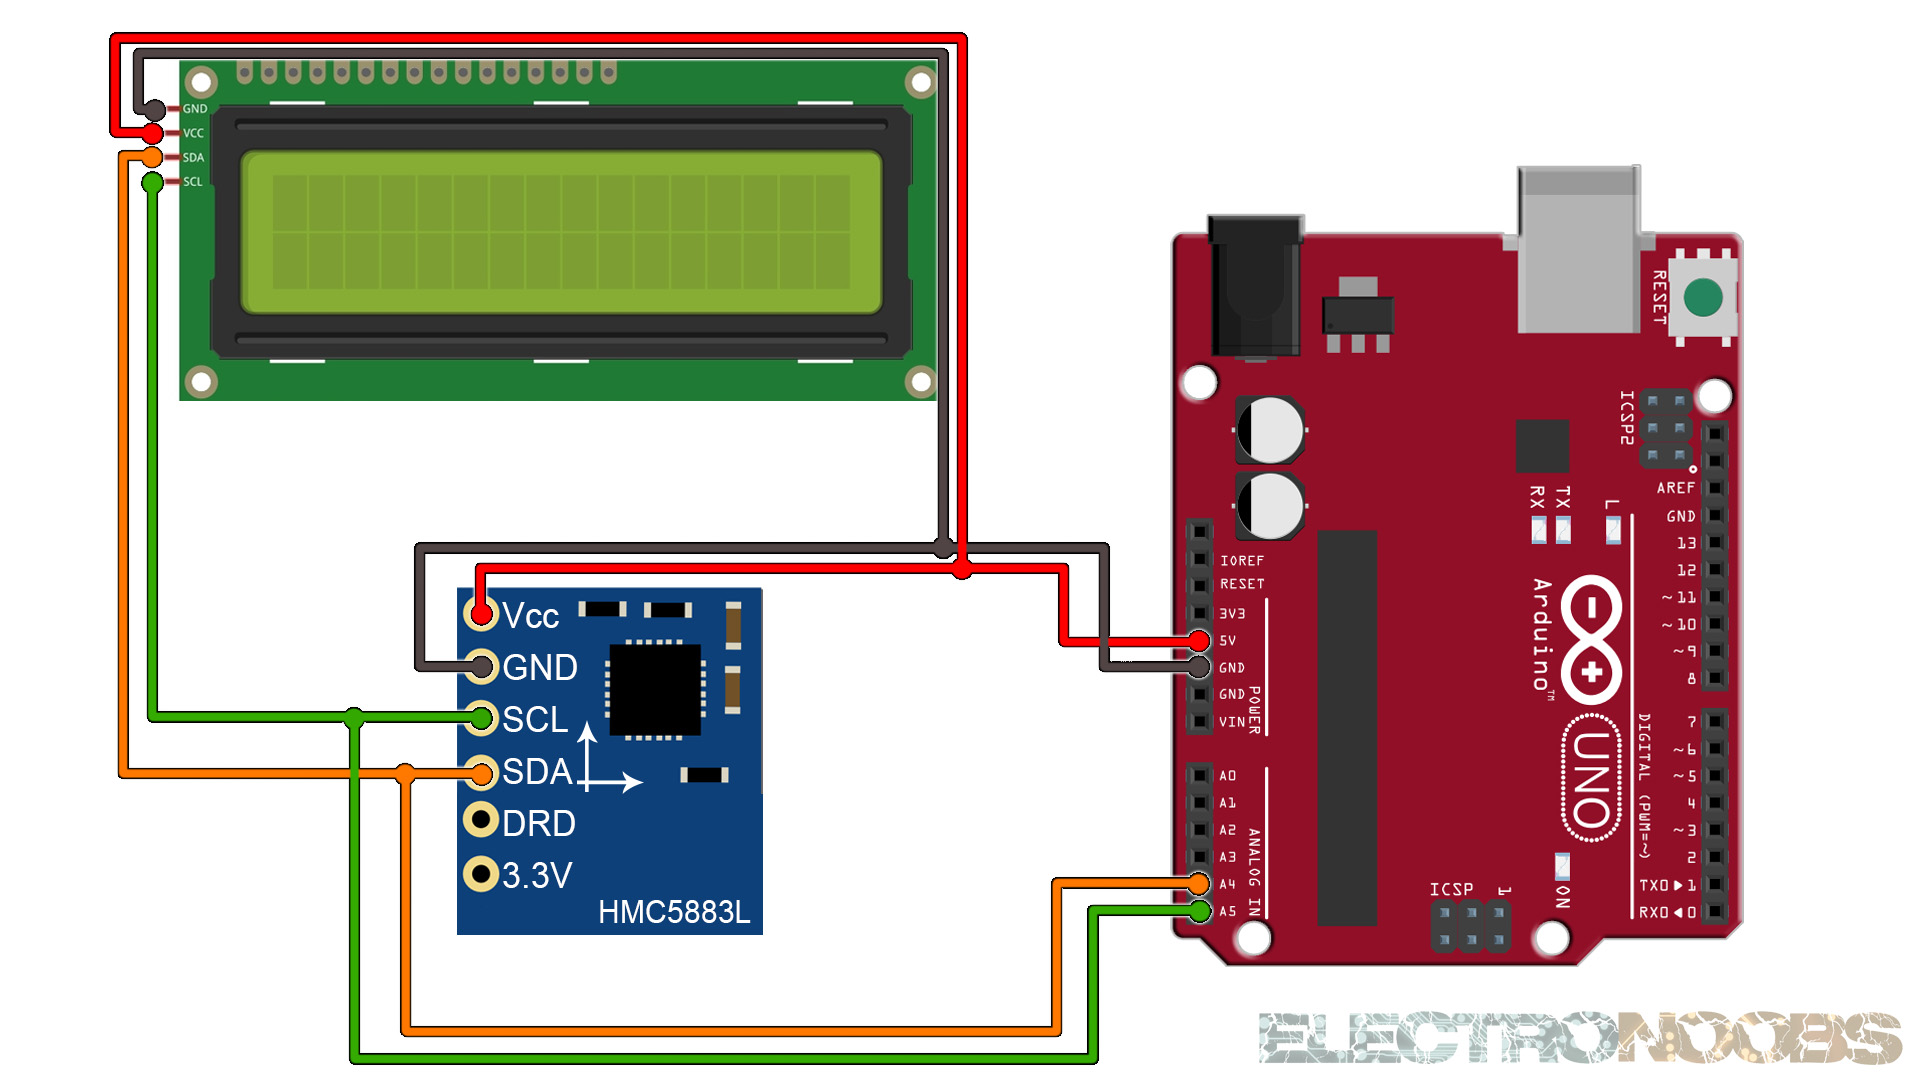
We use i2c to get the raw data from the module. We print the data to the Serial monitor or to the LCD if we use the other code. Download the code, compile and upload.
#define address 0x1E //0011110b, I2C 7bit address of HMC5883

void setup(){
  //Initialize Serial and I2C communications
  Serial.begin(9600);
  Wire.begin();
  //Put the HMC5883 IC into the correct operating mode
  Wire.beginTransmission(address); //open communication with HMC5883
  Wire.write(0x02); //select mode register
  Wire.write(0x00); //continuous measurement mode
  Wire.endTransmission();
}

void loop(){

  int x,y,z; //triple axis data
  int xmin,xmax,ymin,ymax,zmin,zmax;
  xmin=0; xmax=0; ymax=0; ymin = 0; zmin=0;zmax=0;
  //Tell the HMC5883 where to begin reading data
  Wire.beginTransmission(address);
  Wire.write(0x03); //select register 3, X MSB register
  Wire.endTransmission();


 //Read data from each axis, 2 registers per axis
  Wire.requestFrom(address, 6);
  if(6<=Wire.available()){
    x = Wire.read()<<8; //X msb
    x |= Wire.read(); //X lsb
    z = Wire.read()<<8; //Z msb
    z |= Wire.read(); //Z lsb
    y = Wire.read()<<8; //Y msb
    y |= Wire.read(); //Y lsb
  }

  //Print out values of each axis
  Serial.print("x: ");
  Serial.print(x);
  Serial.print("  y: ");
  Serial.print(y);
  Serial.print("  z: ");
  Serial.println(z);
}
Upload the code and make the connections. Then open the serial monitor at 9600 bauds and you will have the angles printed to the serial monitor. Or go below and download the code with the i2c LCD.
#include <Wire.h> //I2C Arduino Library
#include <LiquidCrystal_I2C.h>

// Set the LCD address to 0x27 or 0x3f for a 16 chars and 2 line display
LiquidCrystal_I2C lcd(0x27, 20, 4);

#define address 0x1E //0011110b, I2C 7bit address of HMC5883

void setup(){
  lcd.init();
  lcd.backlight();
  //Initialize Serial and I2C communications
  Serial.begin(9600);
  Wire.begin();

  //Put the HMC5883 IC into the correct operating mode
  Wire.beginTransmission(address); //open communication with HMC5883
  Wire.write(0x02); //select mode register
  Wire.write(0x00); //continuous measurement mode
  Wire.endTransmission();
}

void loop(){

  int x,y,z; //triple axis data
  int xmin,xmax,ymin,ymax,zmin,zmax;
  xmin=0; xmax=0; ymax=0; ymin = 0; zmin=0;zmax=0;
  //Tell the HMC5883 where to begin reading data
  Wire.beginTransmission(address);
  Wire.write(0x03); //select register 3, X MSB register
  Wire.endTransmission();


 //Read data from each axis, 2 registers per axis
  Wire.requestFrom(address, 6);
  if(6<=Wire.available()){
    x = Wire.read()<<8; //X msb
    x |= Wire.read(); //X lsb
    z = Wire.read()<<8; //Z msb
    z |= Wire.read(); //Z lsb
    y = Wire.read()<<8; //Y msb
    y |= Wire.read(); //Y lsb
  }

  //Print out values of each axis
  Serial.print("x: ");
  Serial.print(x);
  Serial.print("  y: ");
  Serial.print(y);
  Serial.print("  z: ");
  Serial.println(z);


  lcd.clear();
  lcd.setCursor(0,0);
  lcd.print("X       Y      Z");
  lcd.setCursor(0,1);
  lcd.print(x);
  lcd.setCursor(6,1);
  lcd.print(y);
  lcd.setCursor(13,1);
  lcd.print(z);

  delay(250);
}
Upload the code and make the connections. Then open the serial monitor at 9600 bauds or just see the results on the LCD screen.