
 About me
  History
  Let's learn
  Contact us
  Arduino tutorials
 Circuits tutorials
  Robotics tutorials
 Q&A
Q&A Blog
Blog  Arduino
  Circuits
 Robotics
  Modules
  Gadgets
  Printers
  Materials
  3D objects
  3D edit
  Donate
  Reviews
  Advertising
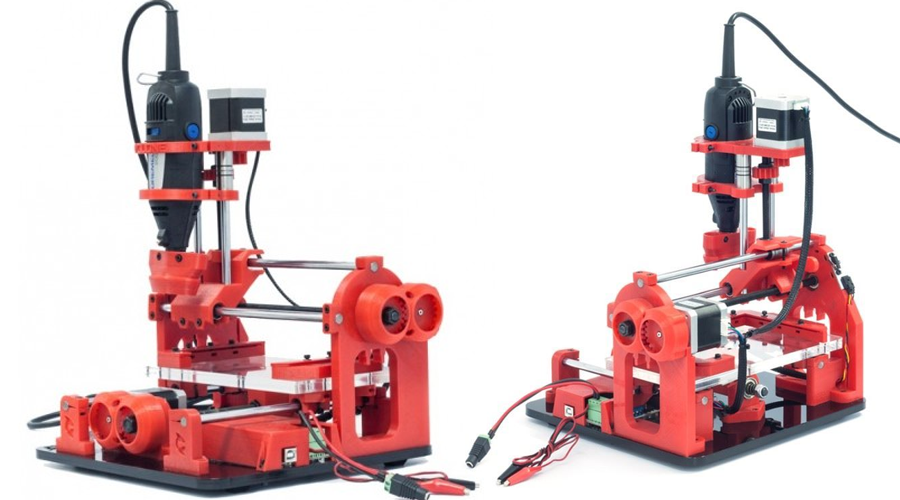
Cyclone CNC mill with Arduino MEGA, RAMPS 1.4 and GRBL firmware
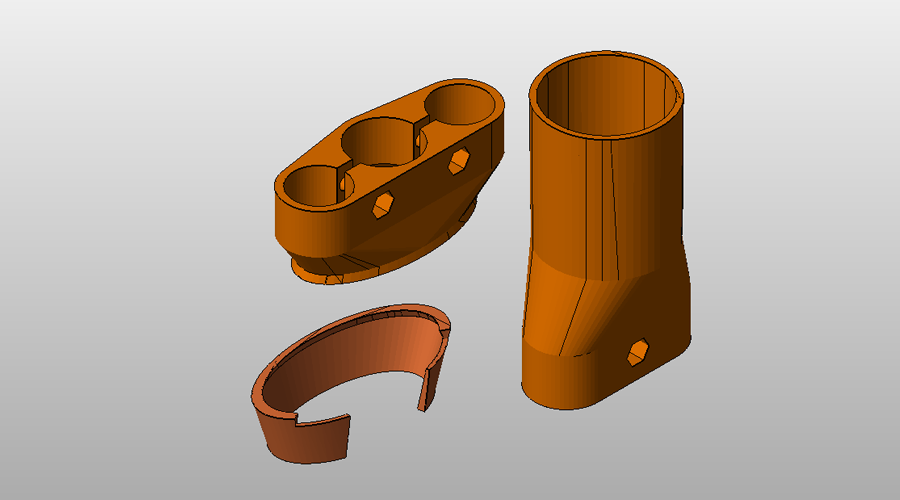
Cyclone PCB mill is a great CNC machine. It has quite nice precison due to high quality used step motors, use of rods and great bearings. The body is aout 80% 3D printed. All the plastic parts are made of PLA material and they are designed ready to be printed.
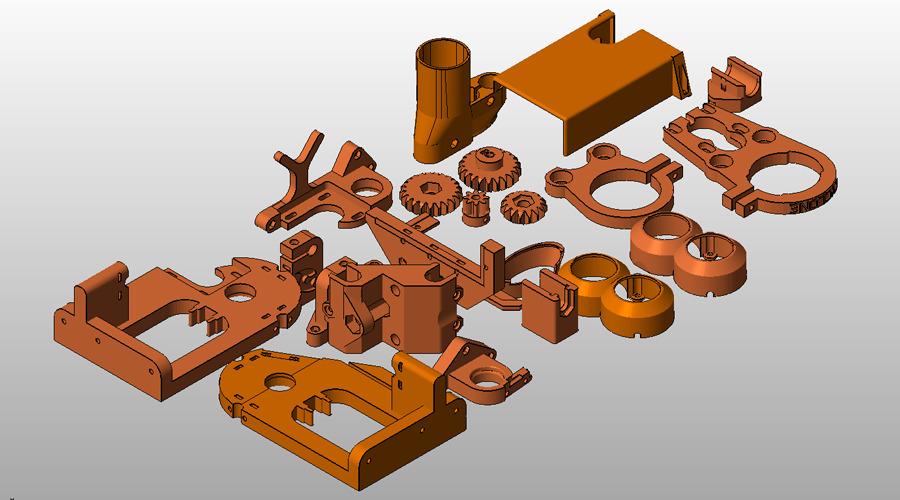
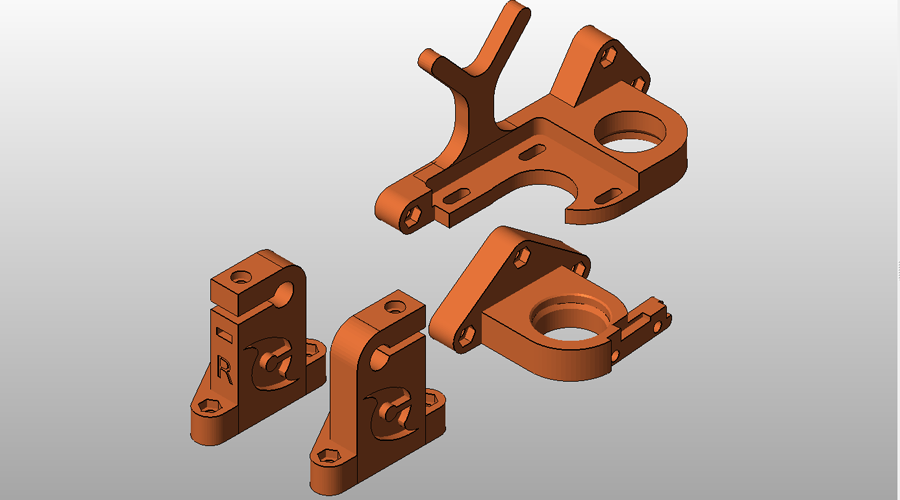
We will build first the frame. We have to print all the .STL files that you could download from a link below. We have to print them with 3 perimeters, 25% infill or more. I've used a 0.3mm nozzle and PLA material.
| PHOTO | DESCRIPTION | QUANTITY | MATERIAL | COMMENTS |
|
All 3D parts | -- | PLA | Print all this parts in order to build your Cyclone CNC |
|
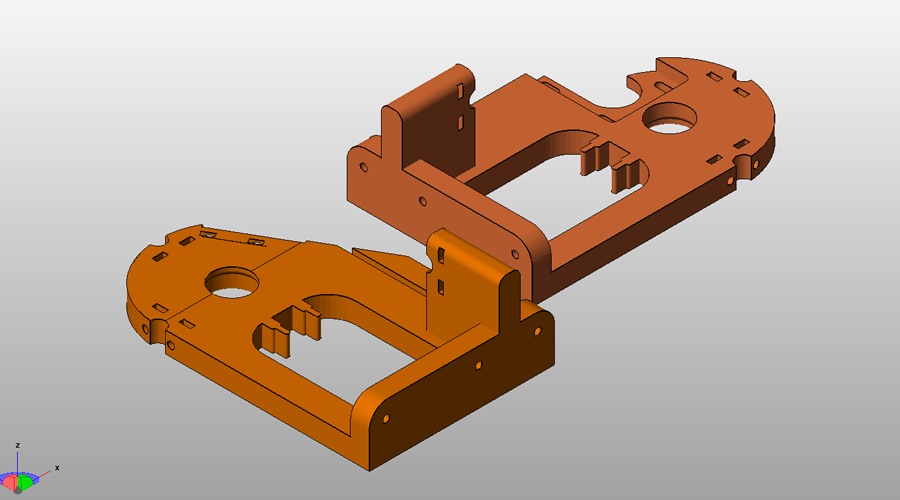
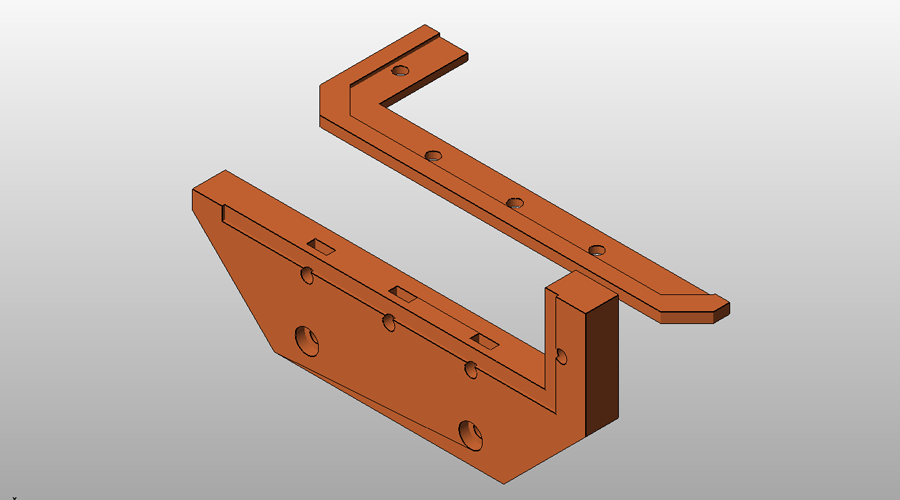
X axis frame | 1 | PLA | Print one of each. This are left and right X axis frame. |
|
Y axis frame | 1 | PLA | Print one of each. This are back and front Y axis frame. |
|
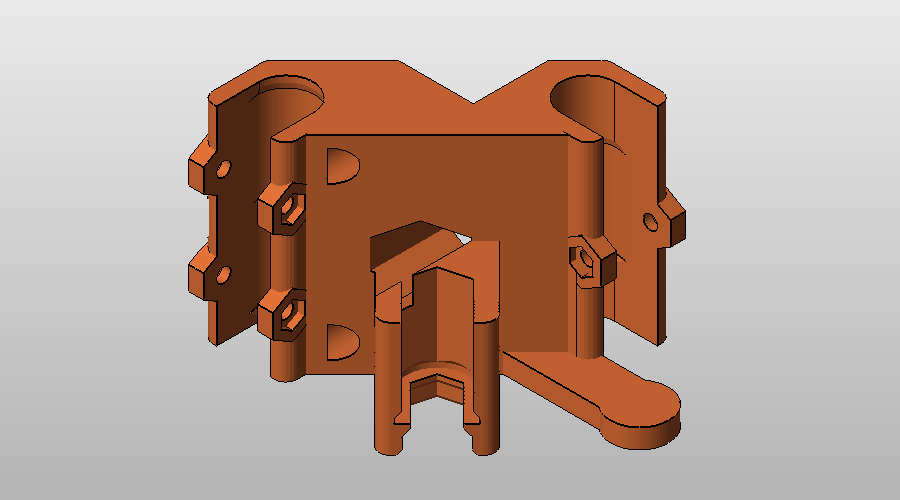
X carriage | 1 | PLA | This will be the carriage that will move on the X axis. |
|
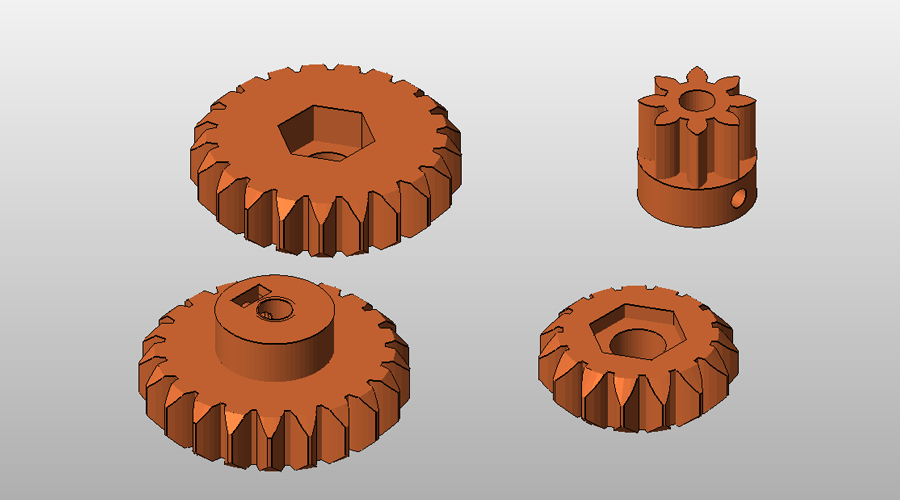
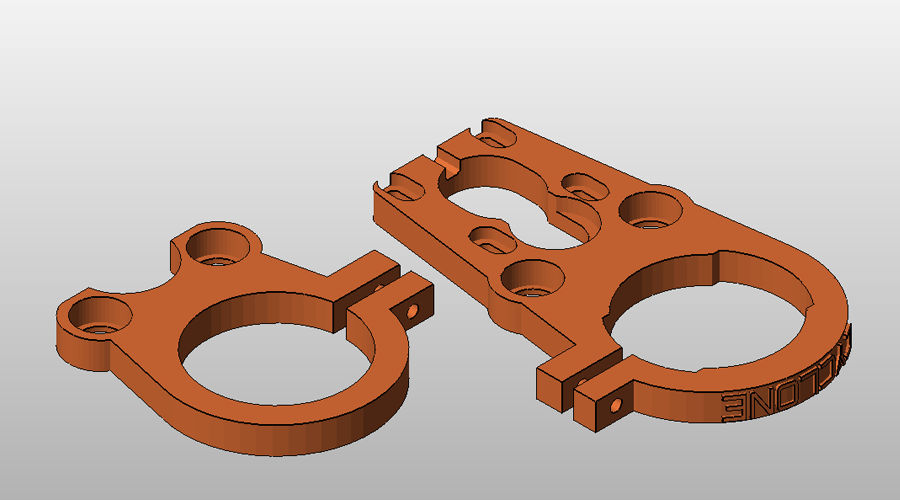
Gears | 2 | PLA | Print 2 of the big gears on the left and one of each of the gears on the right |
|
Bearring suport | 4 | PLA | Parts for the Y axis linear bearrings. |
|
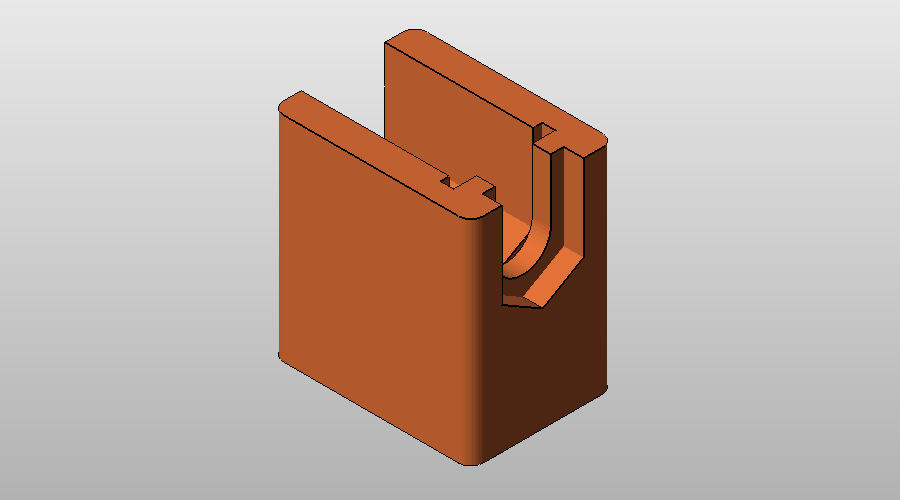
Y axis screw grip | 1 | PLA | Makes the connection between the rod and Y axis board |
|
Smooth rod fix | 6 | PLA | Fix the smooth rods in place |
|
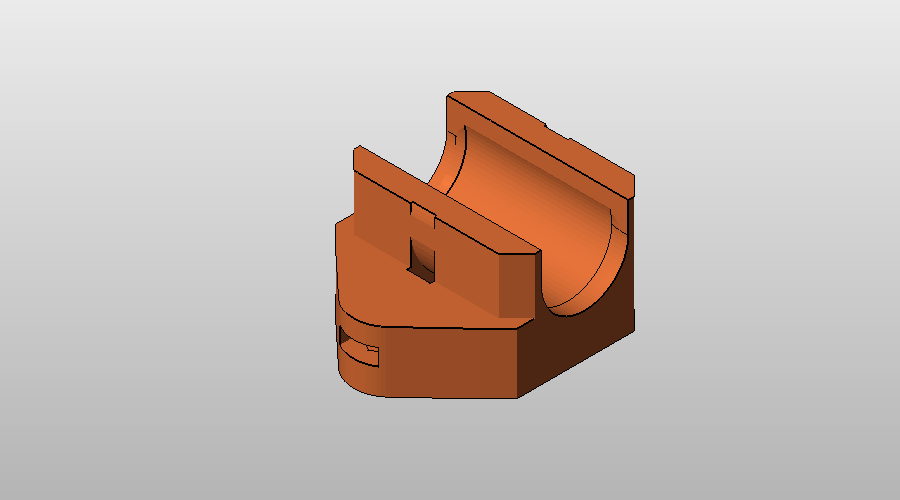
Drill support | 1 | PLA | To fix in place the drill |
|
Soportes de barras | 2 | PLA | Se posiciona sobre las barras |
|
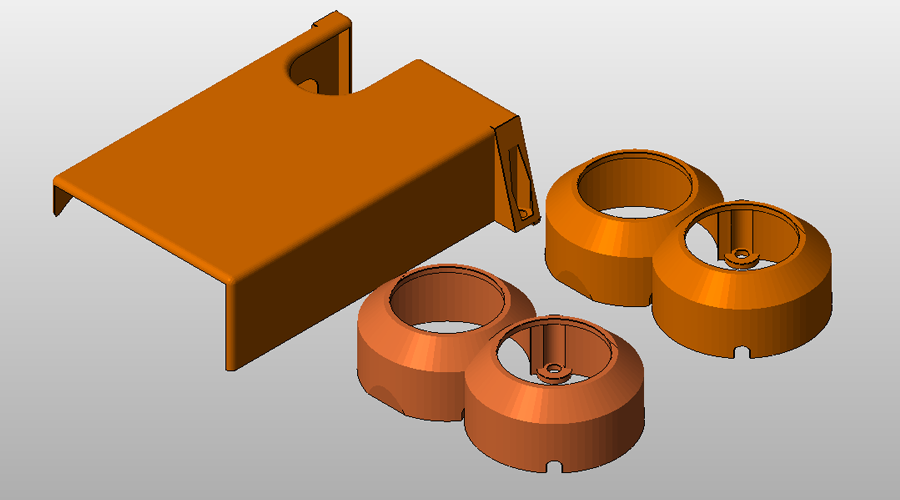
Vacuum parts | 1 | PLA | Parts to connect the vacuum |
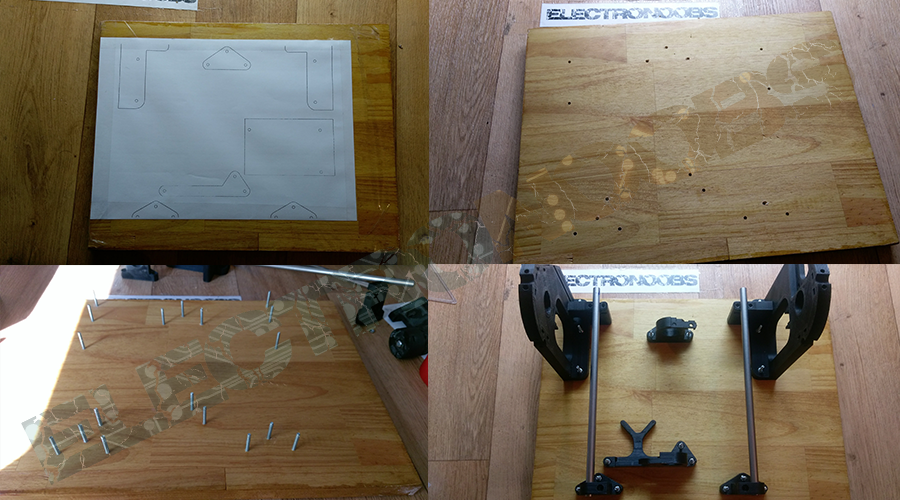
Now that we have all the 3d printed parts we can start mounting the machine. First we need a ground board. I've used a 30x40xm wood board. Download the next plans and print hem on a sheet of A4 paper. After that glue the paper on the wood (or any other strong material) and trill the holes.
Now glue the A4 paper and drill the holes as shown in the next photo. Once the drills are made put a 3cm long M3 screw in each hole.
Now download the next guide and start the assembly.
You can download the
You can download the
You can download the
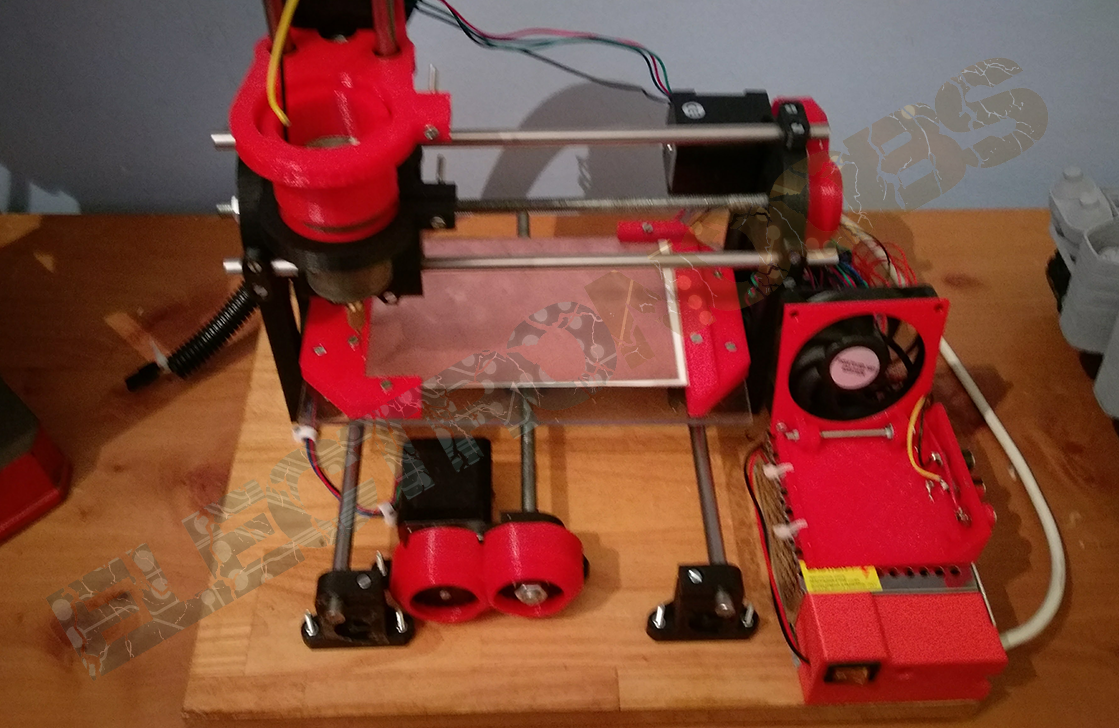
I've used a different board for my Cyclone. I've bought an Arduino MEGA with the RAMPS 1.4 and upload the GRBL for cyclone firmware.

I've used a 5A power supply. Also i?ve added a fan to cool the step motor modules. I've connected some external aligator end wires for the Z probe. Download the next
You can download the
![]()
To create my G-code files from the PCB gerbers I've used FlatCam software.