 About me
  History
  Let's learn
  Contact us
  Arduino tutorials
 Circuits tutorials
  Robotics tutorials
 Q&A
Q&A Blog
Blog  Arduino
 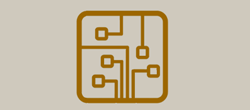 Circuits
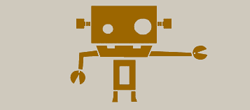 Robotics
  Modules
 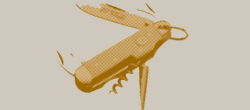 Gadgets
 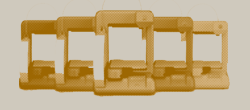 Printers
  Materials
  3D objects
  3D edit
  Donate
  Reviews
  Advertising


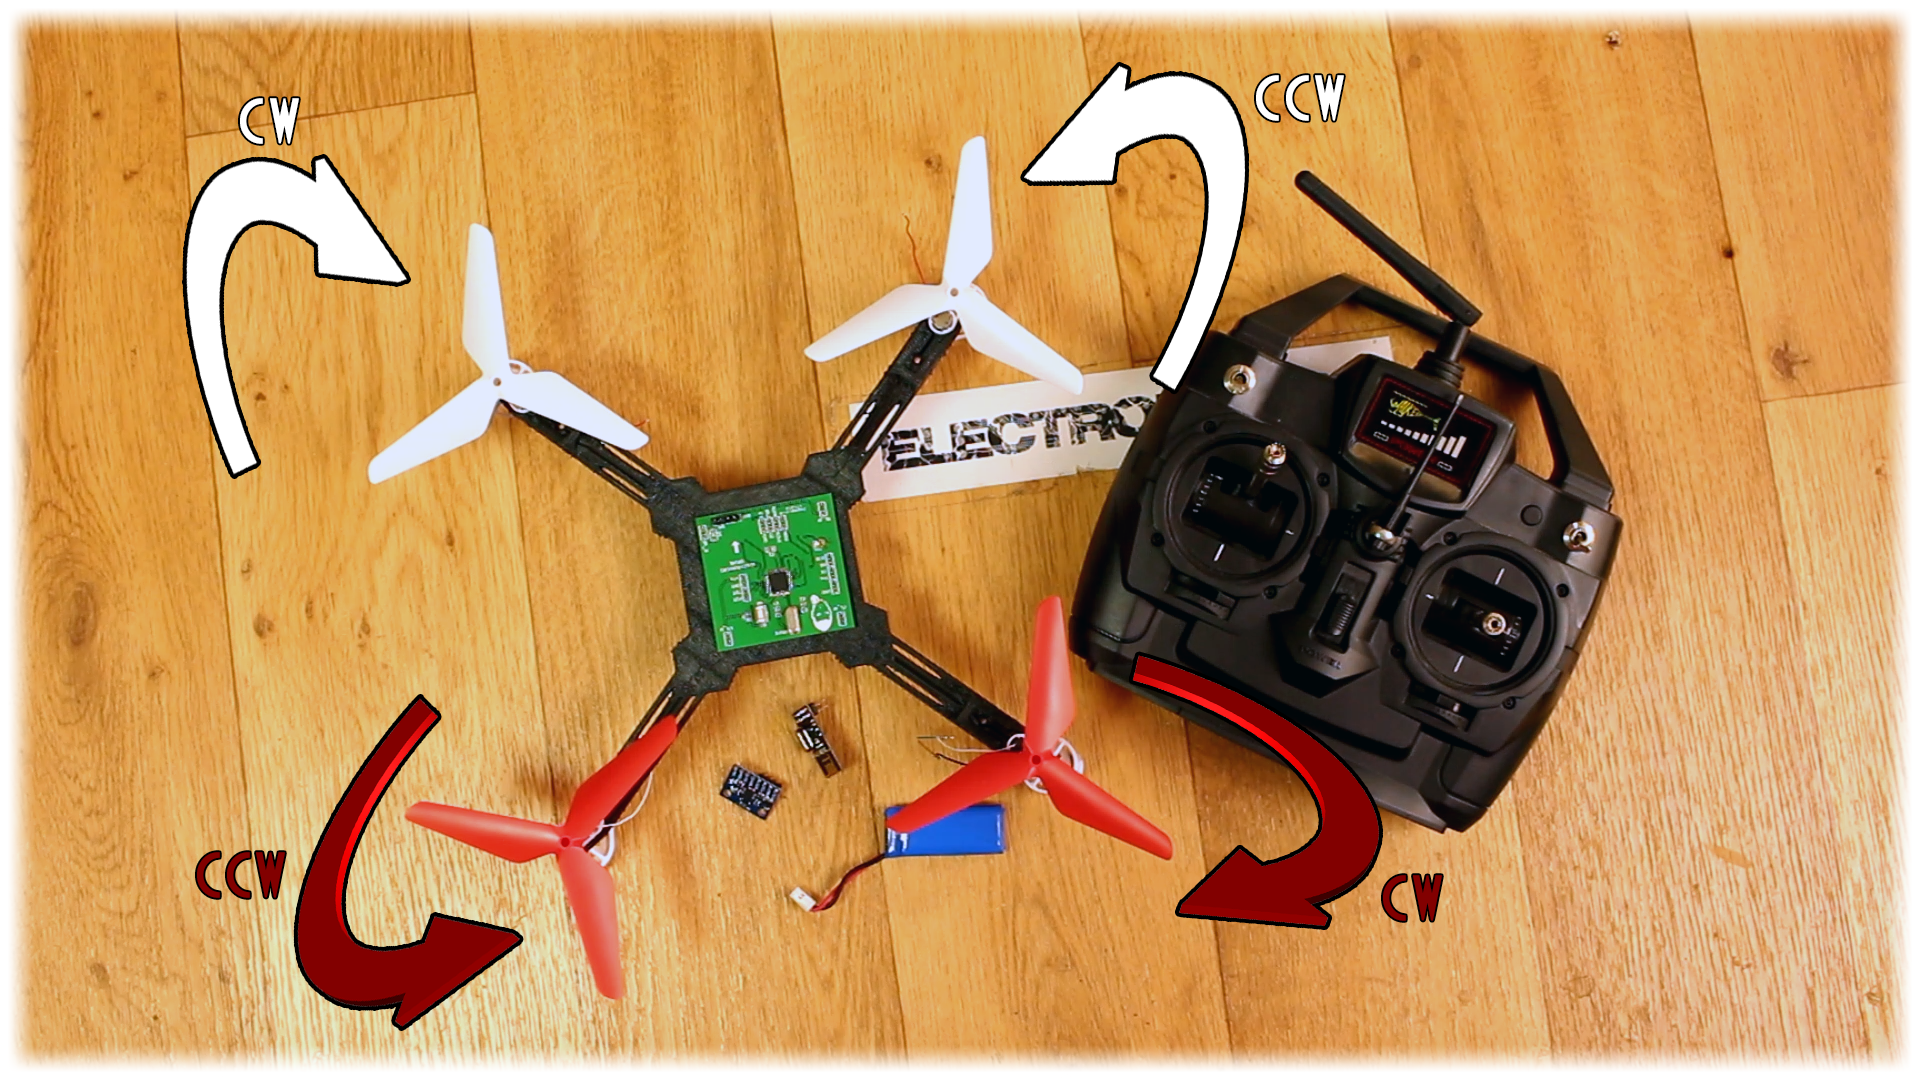
Brushed motors Arduino drone

Step 4 The body
Well, my drone body is 3D printed uisng PLA material. You heve the STL files below if you want to print the same. Youl'll need a big printing area for the full body or use the divided parts for a smaller printer.
if you don't have a 3D printer, just made the body out of foam or thin plywood. Make it as lighter as you can since this drone won't have too much power.
The 3D files here
As you can see in the photo above, the body has holes in the arms for the DC motors gears. With just one screw, or maybe super glue, we fit those plastic gears in place. In these gear supports, we fit the DC motors and on the other side the plastic propellers. The body is basically ready. The plastic gear parts already have foots so the drone will be a bit high over the ground.

Now that the body is ready, all we have to do is to solder everything on the PCB and connect the wires from the DC motors to each MOSFET on the board. Make sure that the board is in the middle of the drone body adn well secured in place and then we will look over the code. When we connect the DC motors we haev to make sure that the propellers are rotationg in the correct direction and pushing air downwards.
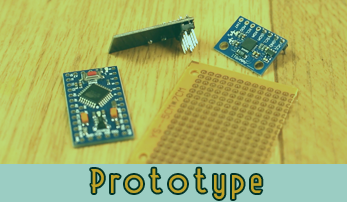
Step 5 The prototype
Ok, we have the part list, the schematic and the drone body. The transmitter is the same as in the past tutorial so check that out. Now let's mount our prototype PCB.
We first solder in place the Arduino pro mini and the MPU6050 as centered as we can. The IMU has to be quite centered to the drone body.
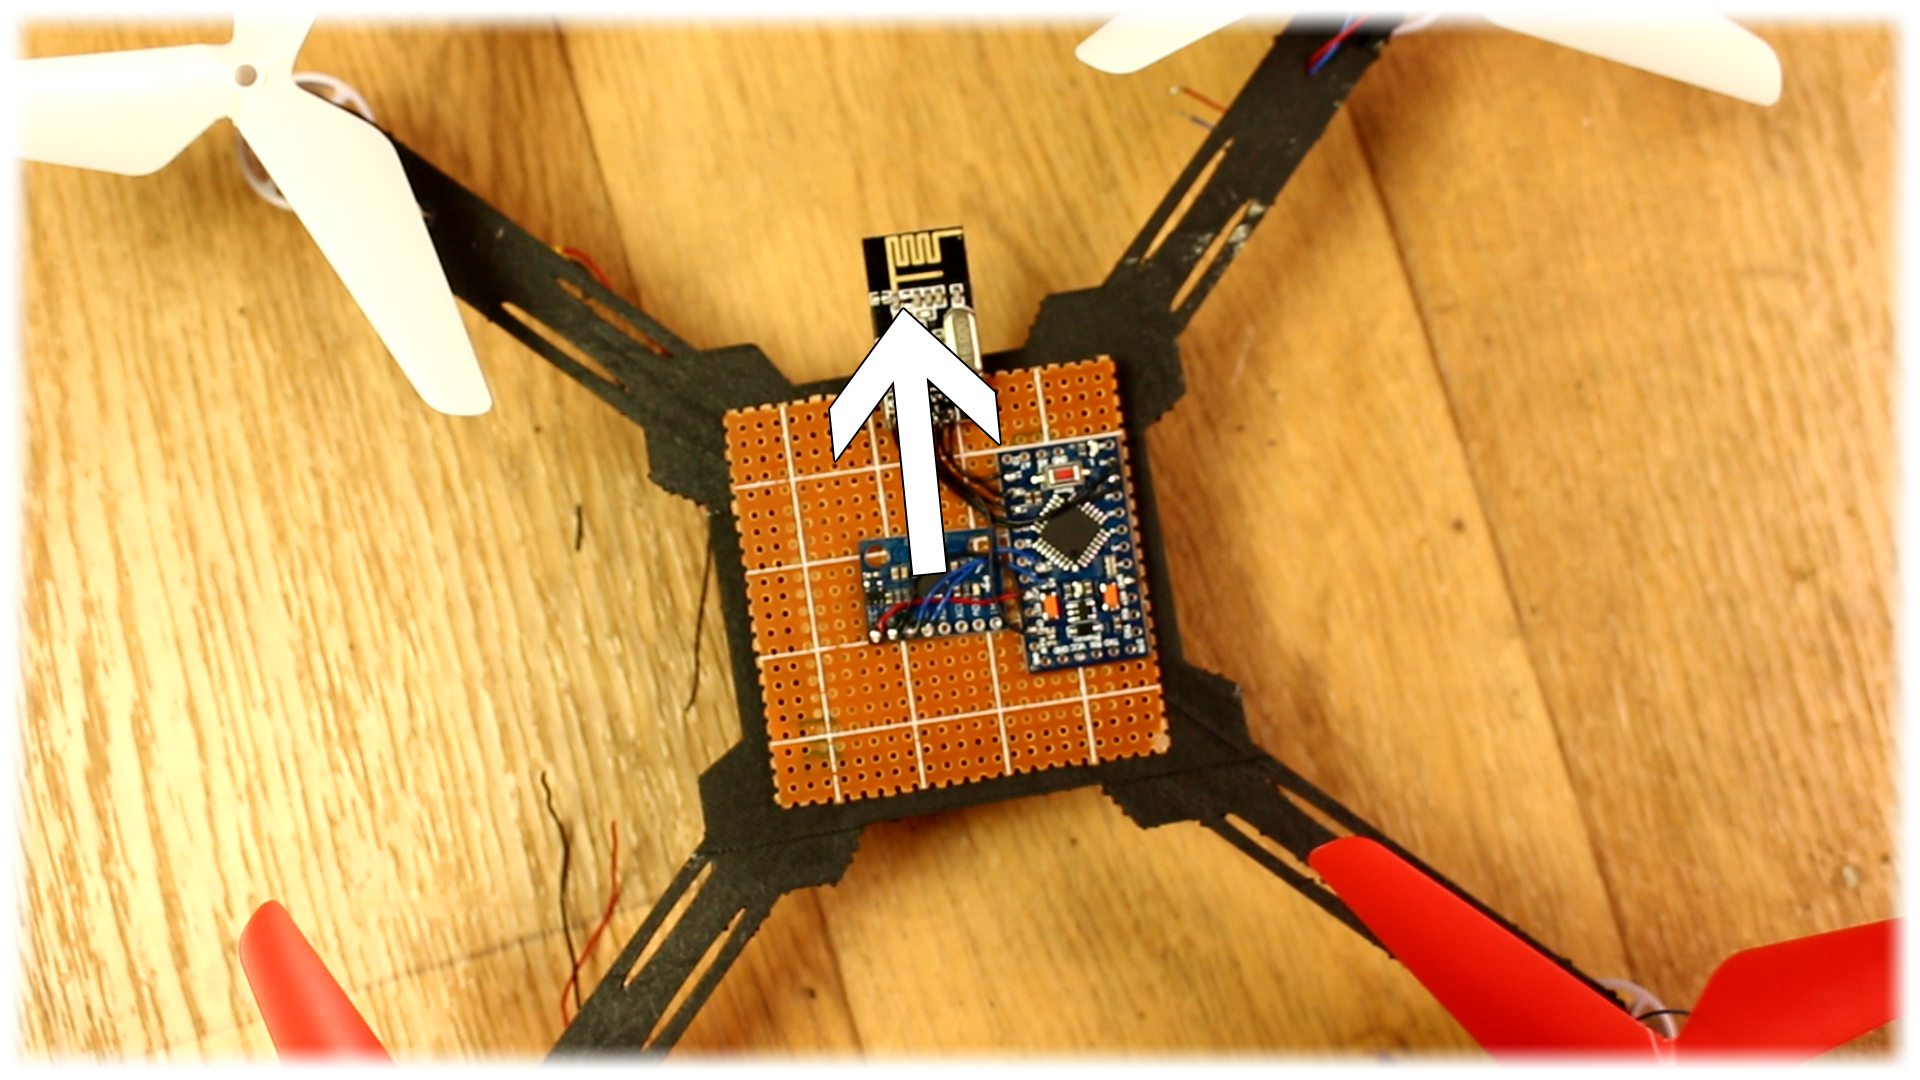
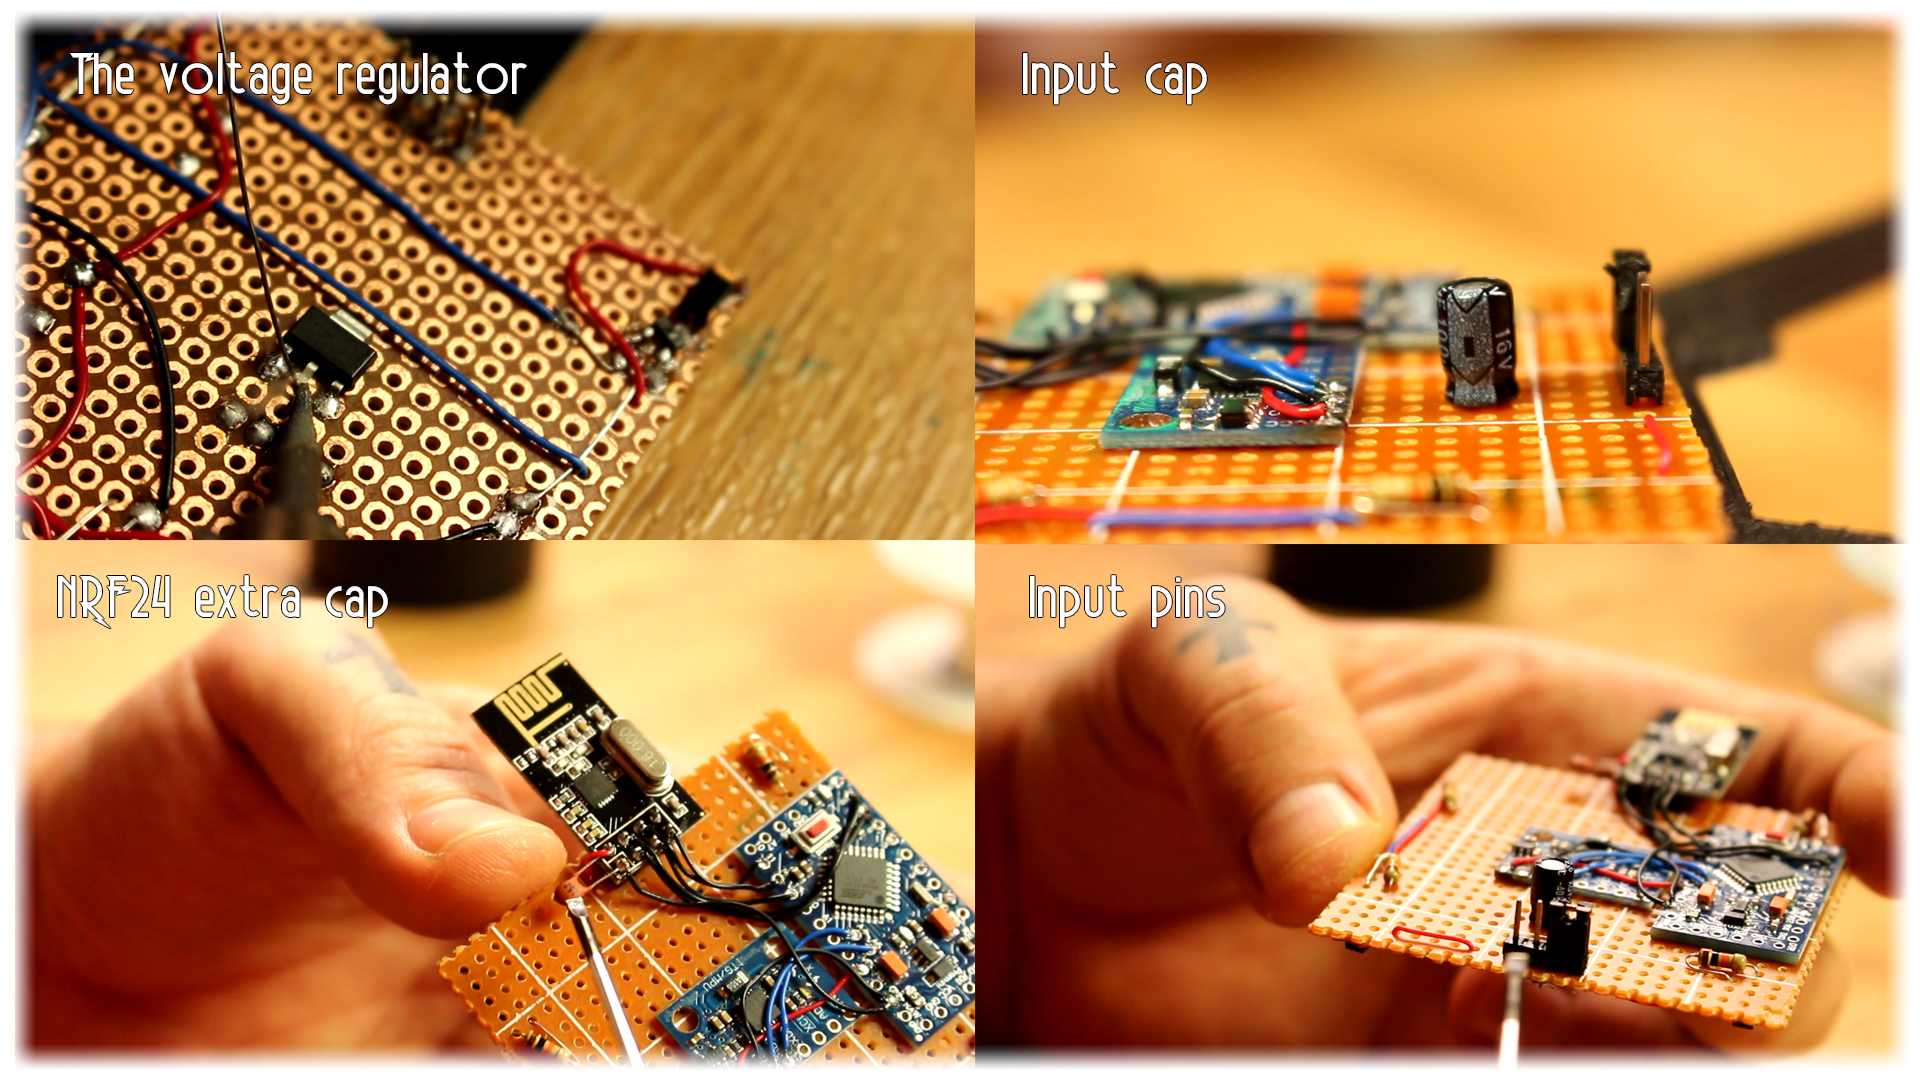
Now, the next step is to solder in place the 3.3V voltage regulator for the NRF24 radio module. We add the input and output capacitors as well. Now we can solder the NRF24 module and make all the connections. Use PCB connections and alos thin wires for the SPI communication. Don't make too long connections since that will create more noise.