How to build your own drone
Help me by sharing this post
This tutorial is divided in 3 parts: Body construction, radio controller and the flight controller.
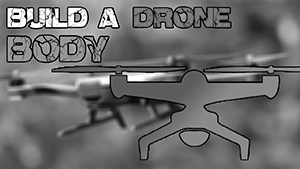
Drone Body
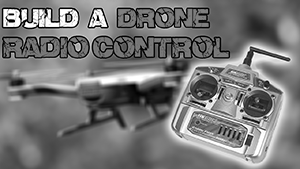
Radio control
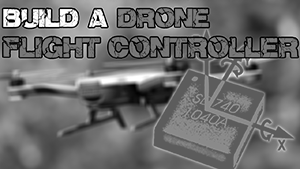
Flight control
Introduction
We are going to buil a nice and fun radio controlled drone. To make this project even better we are going to 3D print the drone body. If you don't have a 3D printer, there are other tutorials on how to build the body out of wood, aluminuim or carbon tubes. The rest of the tutorial is the same. You can free download all the STL files of the 3D drone
here on my webpage.
Download STL parts:

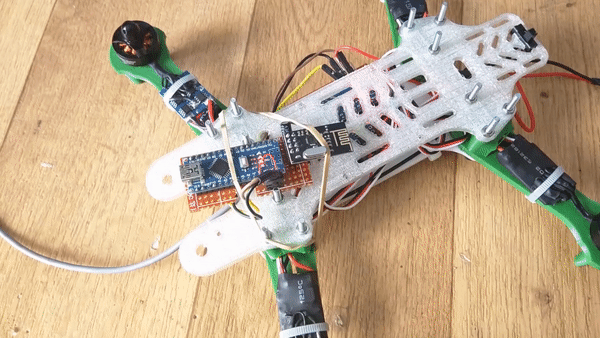
The printed drone will be very light and strong. For the project we will need about 200 grams of PLA material, one 11.1V lipo battery, four 1804 brushless motors, four 12A or higher ESCs, 3 arduino nano, one MPU6050 gyro/accelerometer, two NRF24 radio modules, an old radio controller, wires, etc...
Let's take a look at the entire project material
See all prices

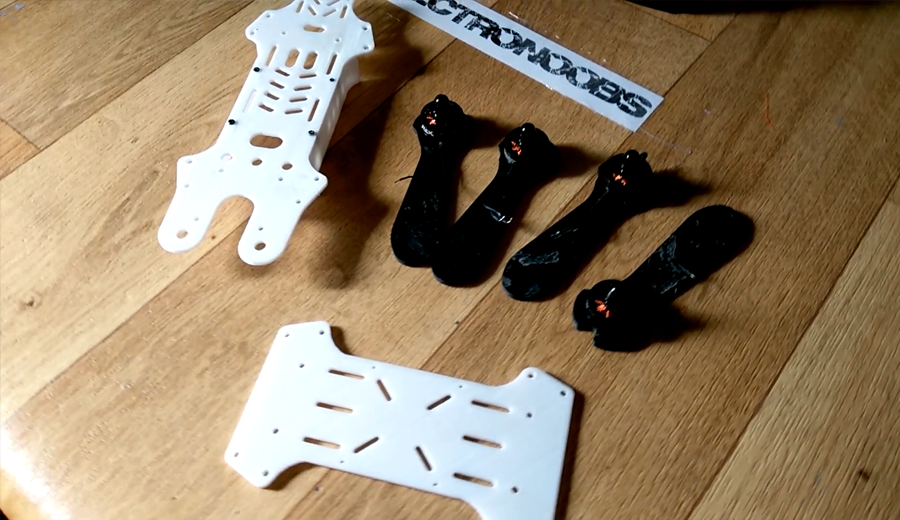
This drone body is a 250 size 3D printed one. You could buy one or maybe build your own one. Try make it very light and strong. I recommend you to use carbon material. Also the 250 size represents the diagonal distance between the motors so keep that in mind.
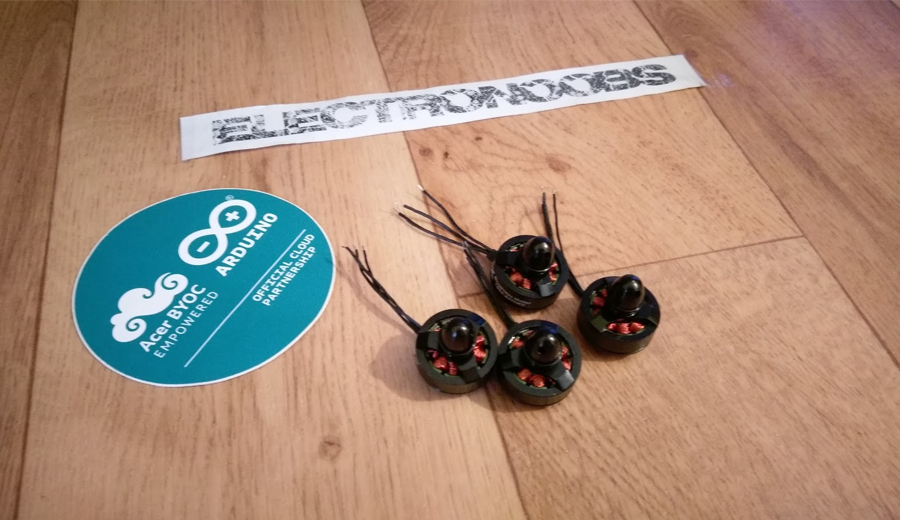
This are 18mm diameter brushless motors. We will need 4. This are for a 250 size drone. If your drone is bigger you would need bigger motors and ESCs as well. Two are clockwise and the others are counterclockwise.
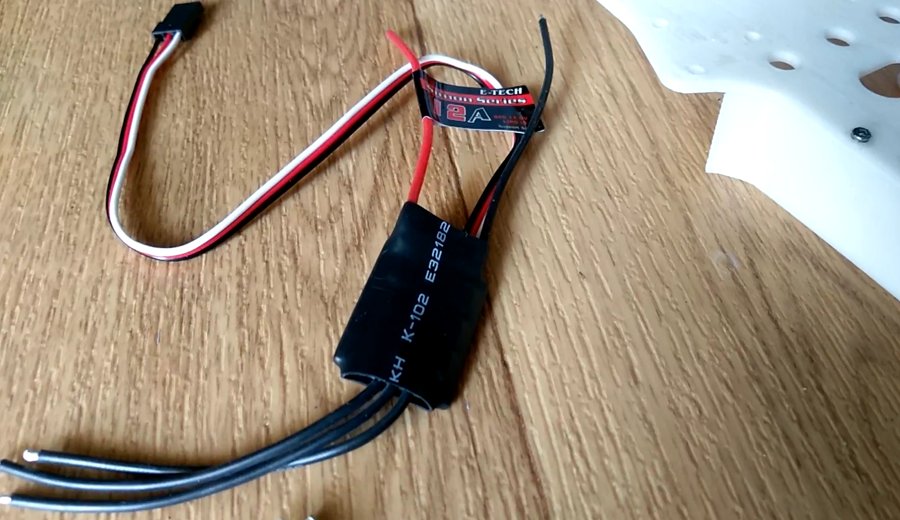
This are 12A ESC2. You could use higher current ones but this are quite cheap. Be carefoul with the size because if you are building a 250 size drone you will need some small ESCs. So look at it's size when you buy them because on the internet photos you can't tell the size.
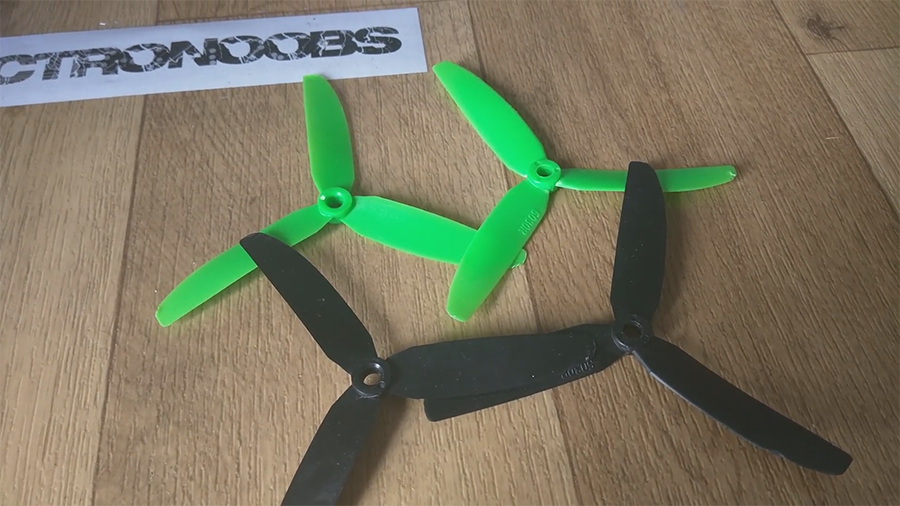
I will use 5030 3 blade propellers. This are double 30 degre probellers made of plastic. We need two clockwise and two counterclockwise.
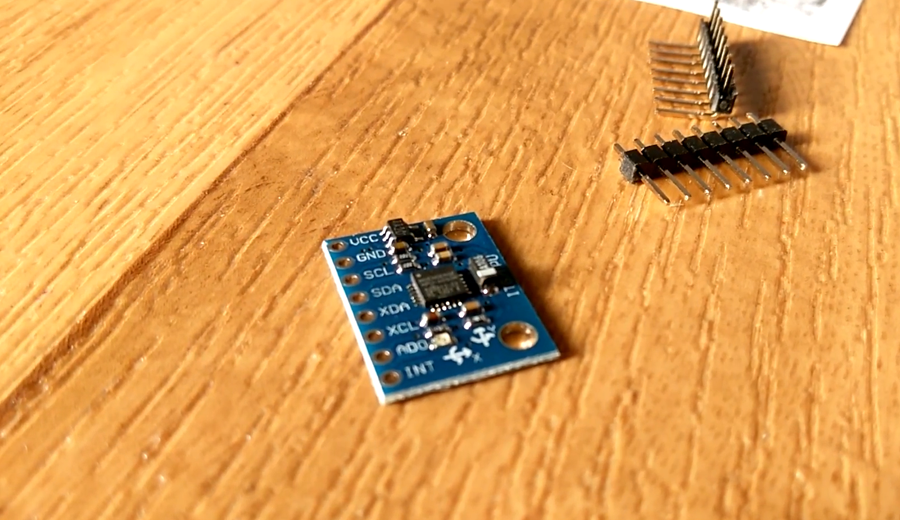
This is the inetrtial movement unit or IMU. It is a MPU6050 module that has an accelerometer and gyroscope. With this two sensres we will be able to steady control the drone. It uses a i2c comunication and we will connect it to an Arduino NANO.
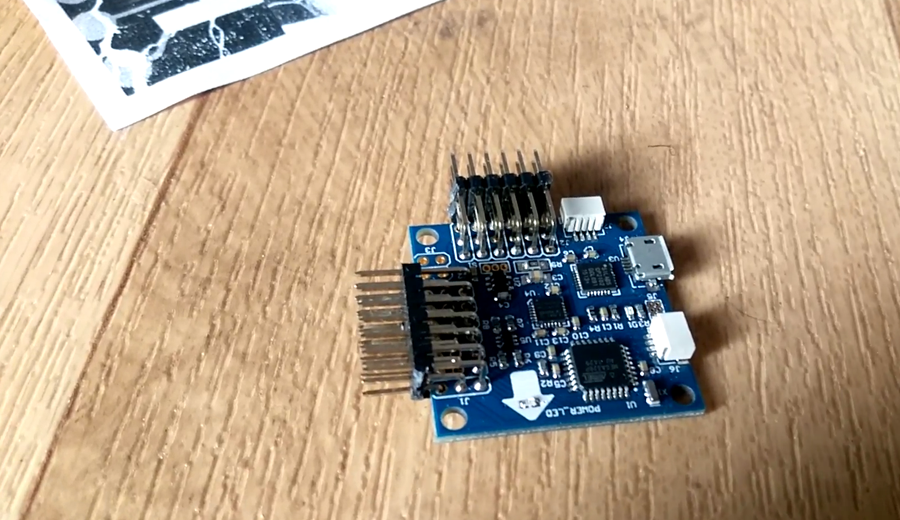
If you don't want to build the flight controller using the Arduino NANO and the MPU6050 module you coud directly use this multiwii V3.0 board witch is the same as the Arduino + MPU6050 combination.
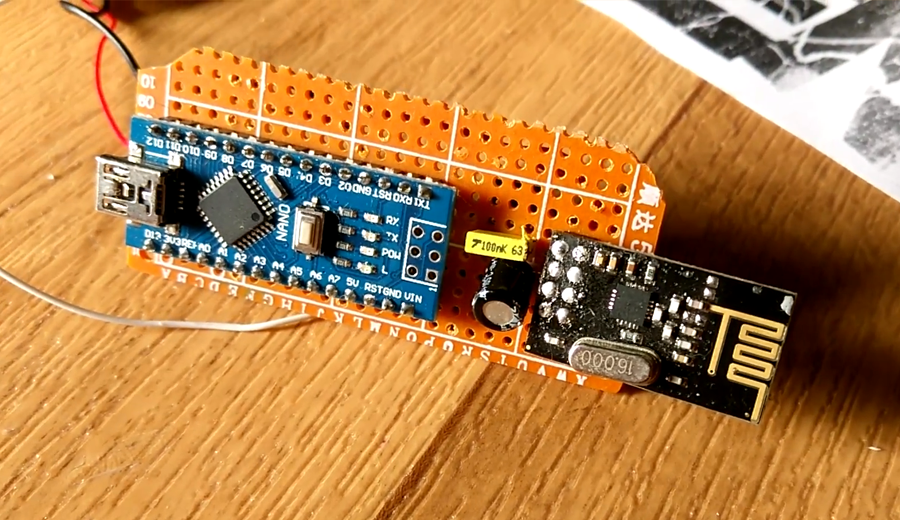
The radio receiver is also made with Arduino. The radio module is NRF24 and could send and receive up to 32 channels of 8 bits.
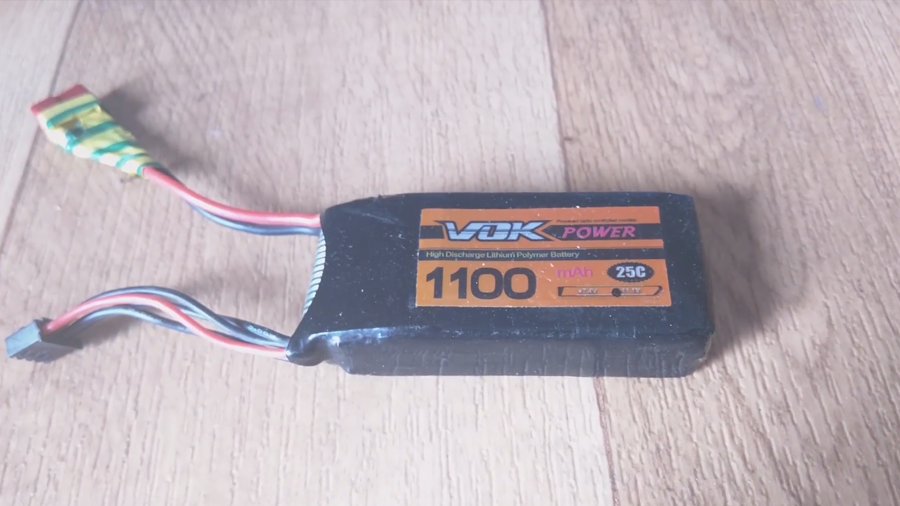
We will need a 3 cell lipo bttery. Use a medium heavy battery depending on your drone size. Because this is a 250 size I'll use a not so heavy one.
We will build our own Arduino based transmitter. We will also use a NRF24 radio module but this one will have an amplified antenna. This radio controller coud go up to 32 channels witch is crazy!!!
Small list with links for "all" the parts that I've used.
Arduino NANO - LINK eBay
MPU6050 - LINK eBay
12A ESC - LINK eBay
1804 brushless motor - LINK eBay
3 blade propellers - LINK eBay
NRF24 radio module - LINK eBay
NRF24 + PA module - LINK eBay
lipo Battery - LINK eBay
Multiwii flight controller - LINK eBay (if you don't want the Arduino + MPU6050 flight controller)
Go to next page:

Help me by sharing this post