Author: ELECTRONOOBS
22/06/2018
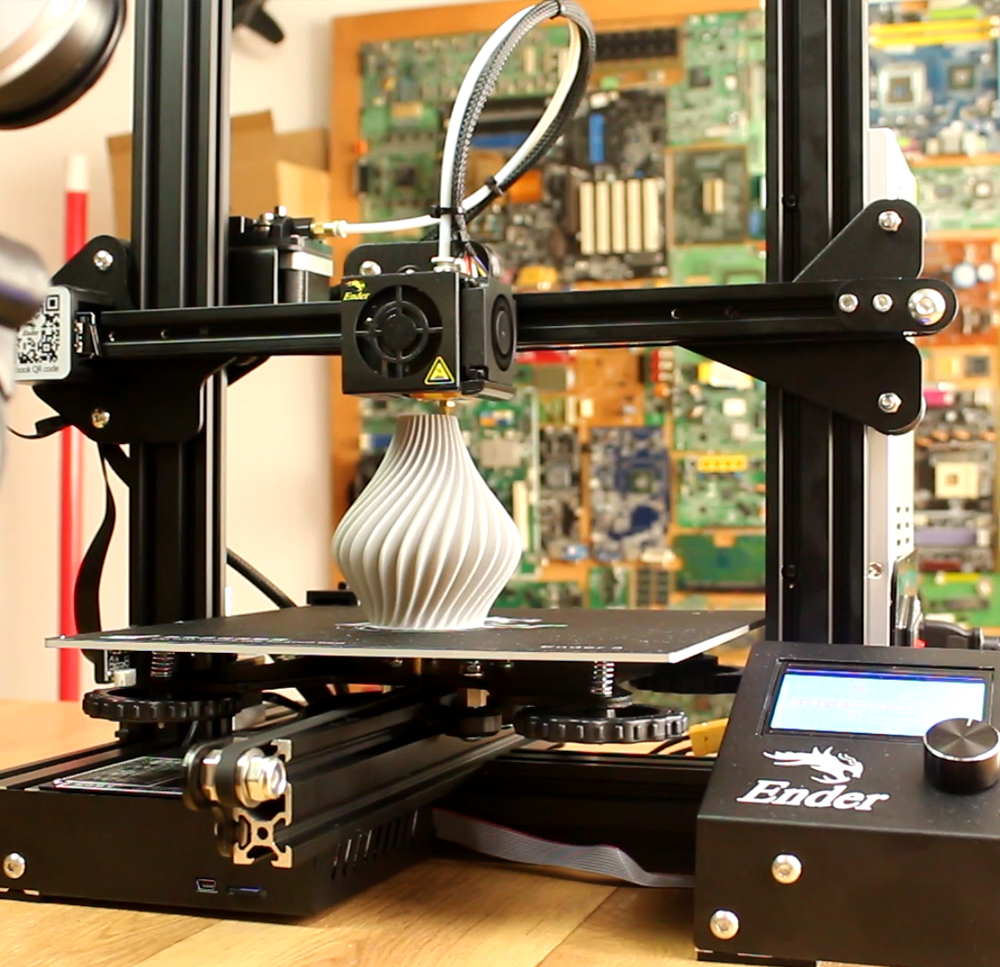
What I like about this printer? Well, as I said before, it is my new favorite of 2018. The ratio between price and quality is so good. It has the quality level of the CR10 but for only 160 euros right now...
So, besides the amazing price, what more dose this printer has? Well, what I most like of it is that it is very compact. No loose cables, no separated external cases on the side. Everything is just a one piece printer.
Order your ENDER3 here:
ENDER3 and start printing

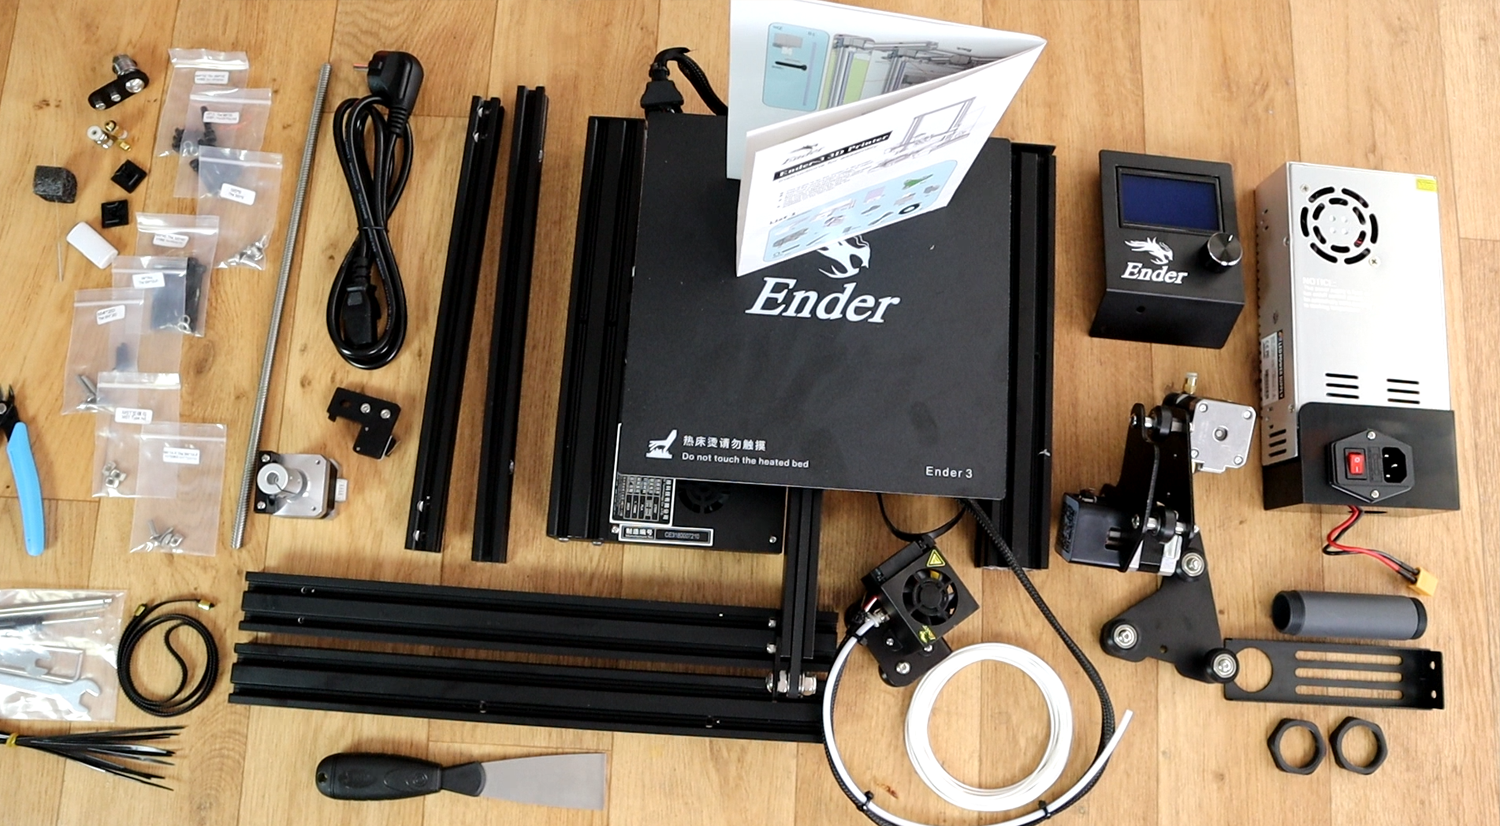
This below is all you get in the box when you receive it. We have the manual with colored photos that will help you mount the printer which by the way, is very easy to mount. We have the main supply that looks really nice and with a plastic cover, some bags with screws, belts, SD card, plastic parts and more small components. Then we have the main base with the heated bed, main electronics case and the extruder block already assembled, some metal bars for the frame and more mechanical parts as the Z-axis carriage, motors and spool holder.
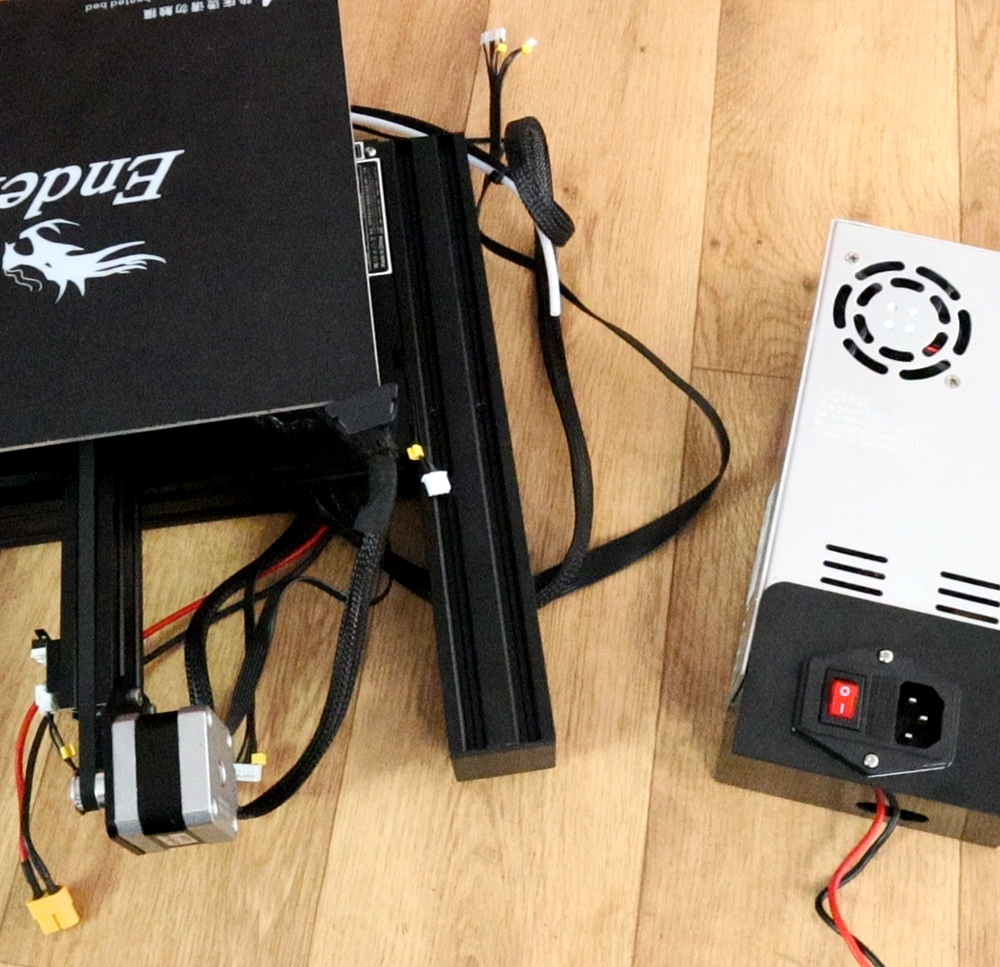
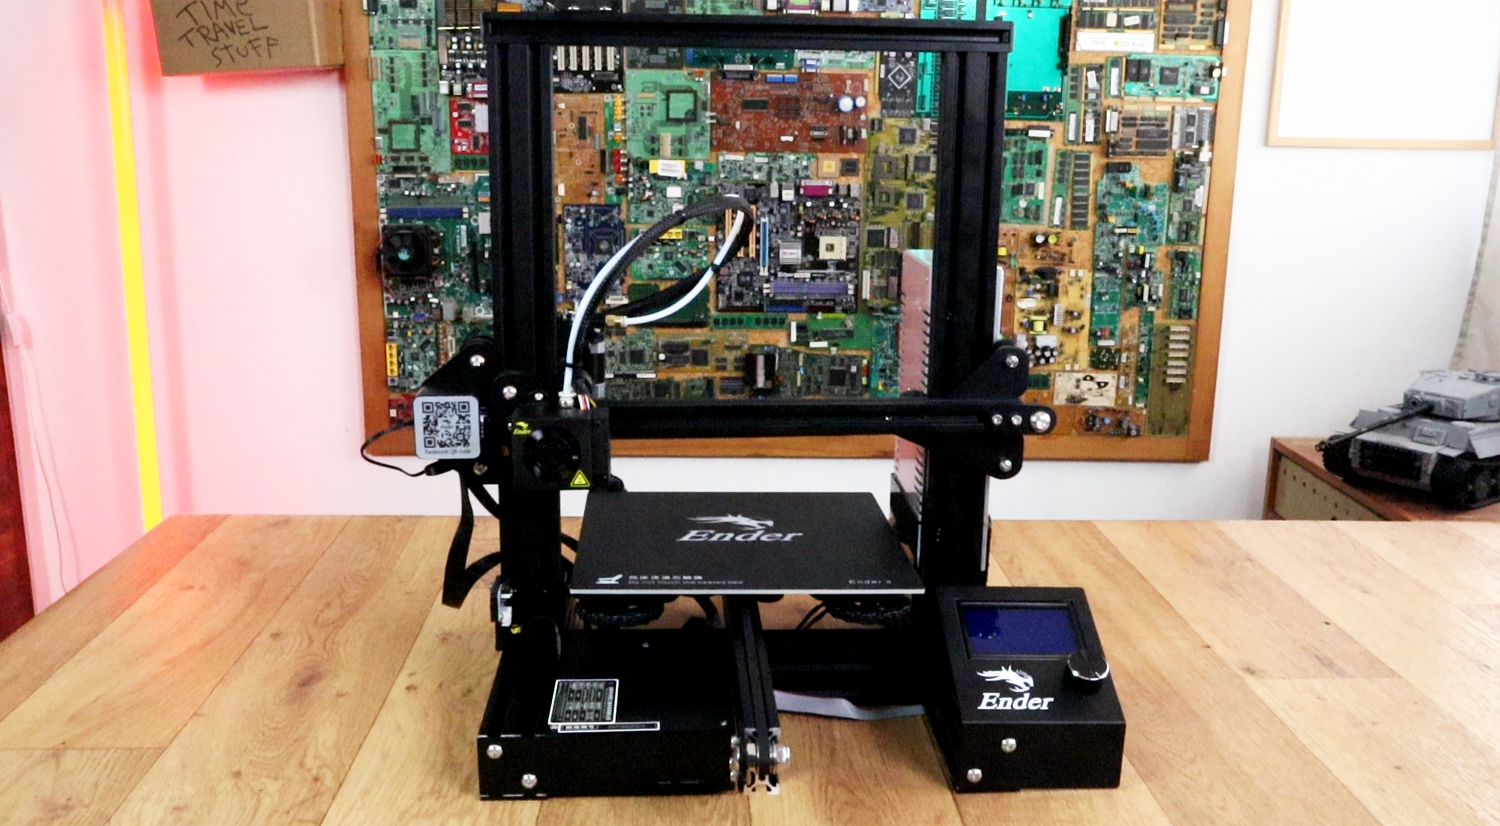
Now, on the bottom part of the frame we have the main electronics case and all the wires. I really like this configuration. They really took their time and studied the best option so we won’t need the external case on the side of the machine as in the CREALITY CR10 model. In this way, it will fit in a much smaller place because all the electronics are below.
The placement of the supply is on the frame side but screwed on to the frame, so we have no external components so the space this printer will need is exactly the printer size. The supply for this model is improved and they went with a 24V one and that’s a huge improvement. That means the heated bed will get heated much faster. Also, the wiring is closed in a plastic case, so the printer is quite safety to use since no high voltage is exposed.
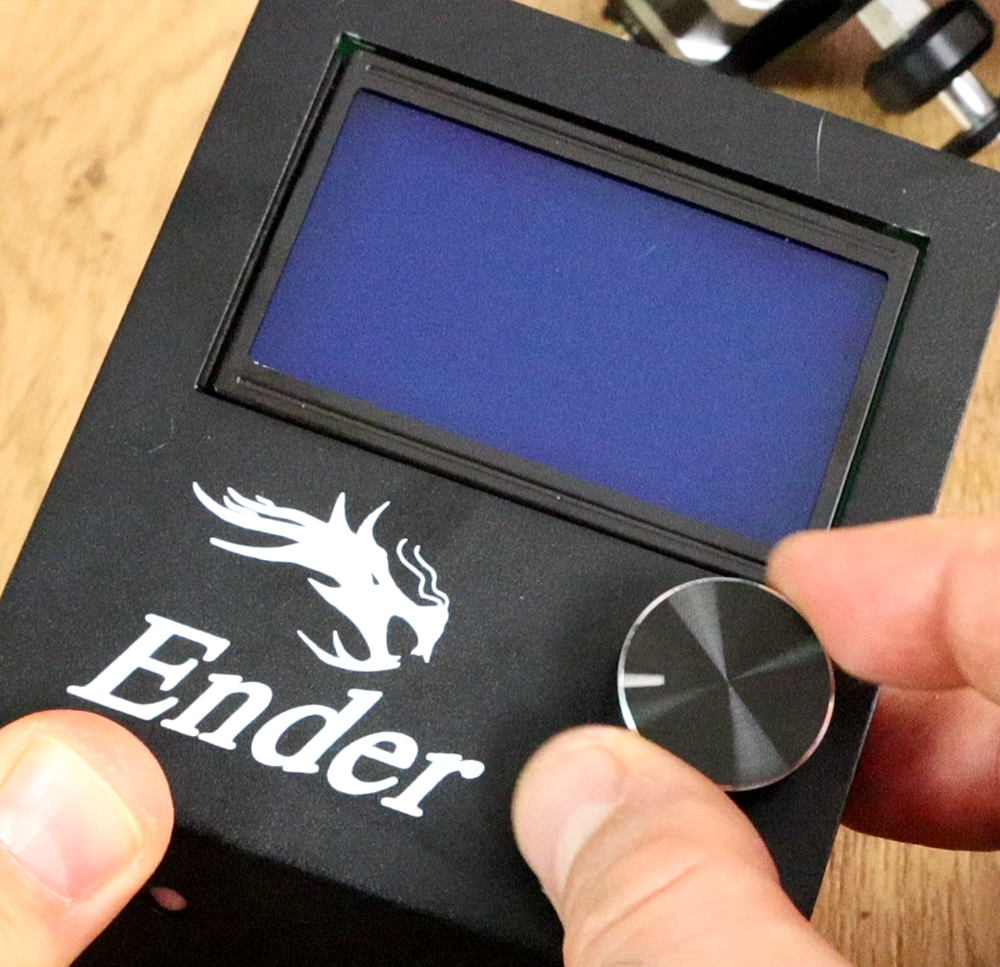
Next, well, we have the metal bars which are pretty basic, the LCD and the metal carriages. The LCD is nice and simple, with a rotary encoder knob to scroll through the menu and gets screwed on the front bottom part of the machine. This is the thing I most like for this machine, all the parts are well studied and improved and so the frame is very compact. No loose cables, no external cases or separated LCD control, so, a plus one for the frame of the Ender 3.
Now, each carriage is made out of mental so is nice and strong and once again with V-shaped rollers and eccentric nut so all axis will have a very smooth movement. Each axis has the limit switch already installed and the Bowden extruder motor is also assembled. I can also see a plastic protective case here on top of the motor and pulley.
So, guys. Do I like and recommend this printer? Well, I have to say that it is my new favorite printer. As you know, till ENDER 3, the ANET A8 was my favorite due to the ratio between price/quality. But now, for only 160 euros you have a printer with the quality of the CREALITY CR10 for both the prints and build quality. This printer will blow the market. CREALITY has already a good reputation, and now, they also have a low-price printer in the same price range as the Tevo Tarantula or the Anet A8, but the quality is way better and it has all the improvements.


 See other blog→