Panel Cookies
yt_link
insta_link
fb_link
twitter_link
Blog#16 - Arduino watch

Last tutorials

All about Arduino PWM frequencies
Debug Arduino and ESP with PlatformIO
Homemade Best Two Hand Multimeter with Arduino
Homemade Baby White Noise Generator
Measure AC RMS with Arduino

ADVERTISERS


Arduino based watch
Help me by sharing this post

Go back ↞ See other blog→

Author: ELECTRONOOBS
20/08/2018

I always wanted to have my own geek watch. But a watch must be small and fit well on your arm so making it on prototiping PCBs is not a solution. But now, with low cost PCB manufacture, I was able to design and order my own digital but analog look watch. But, to achieve taht I had to solve a few problems. First of all, I didn't wanted a big 16MHz crystal on my PCB as the used ATMega328p-AU chip needs. Then I had to solve the battery problem. in order to last a few days, the board should work at low power. All the other parts were design decisions.

To order your boards, use JLCPCB.com and select your color.


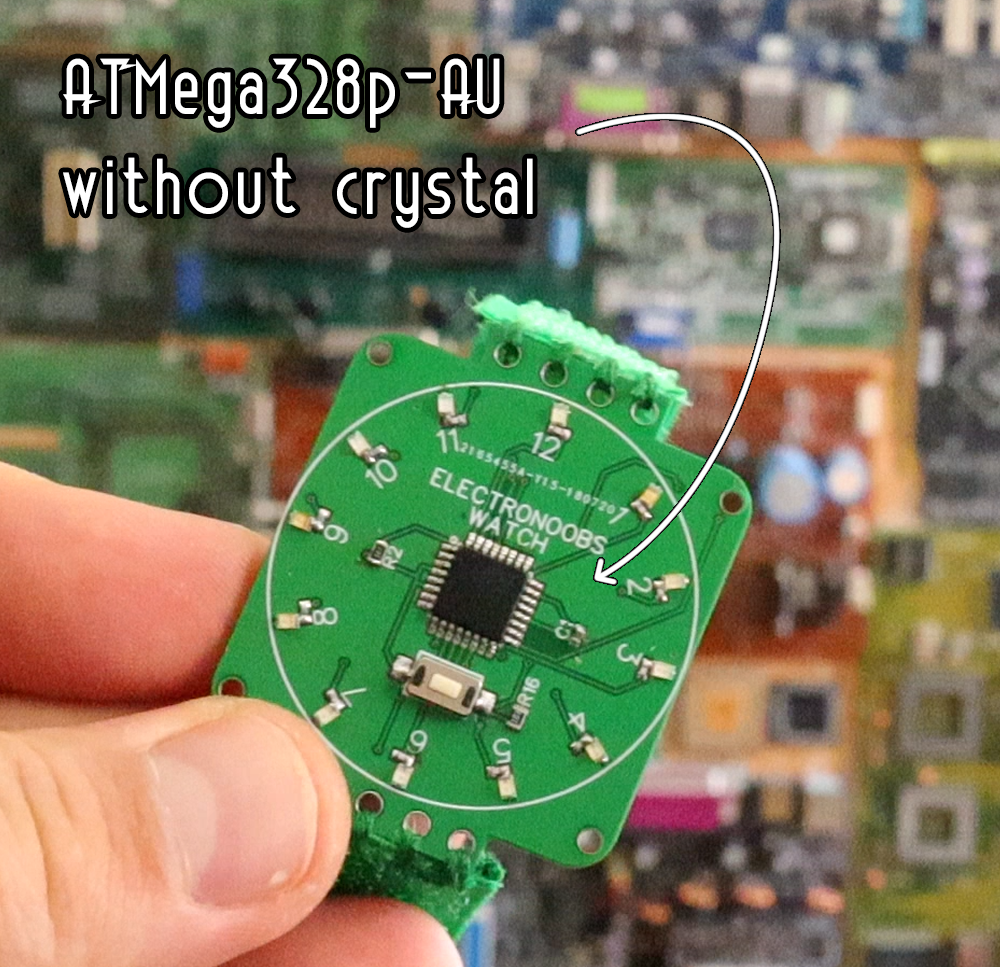
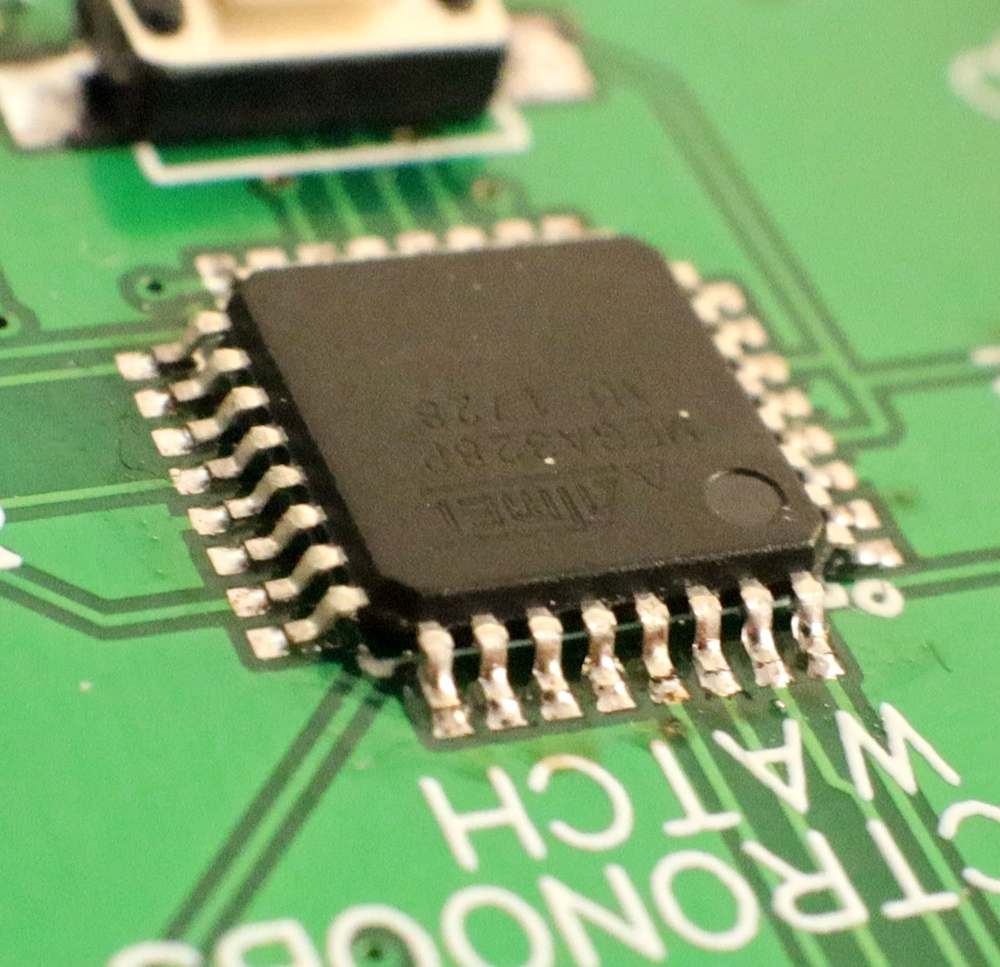
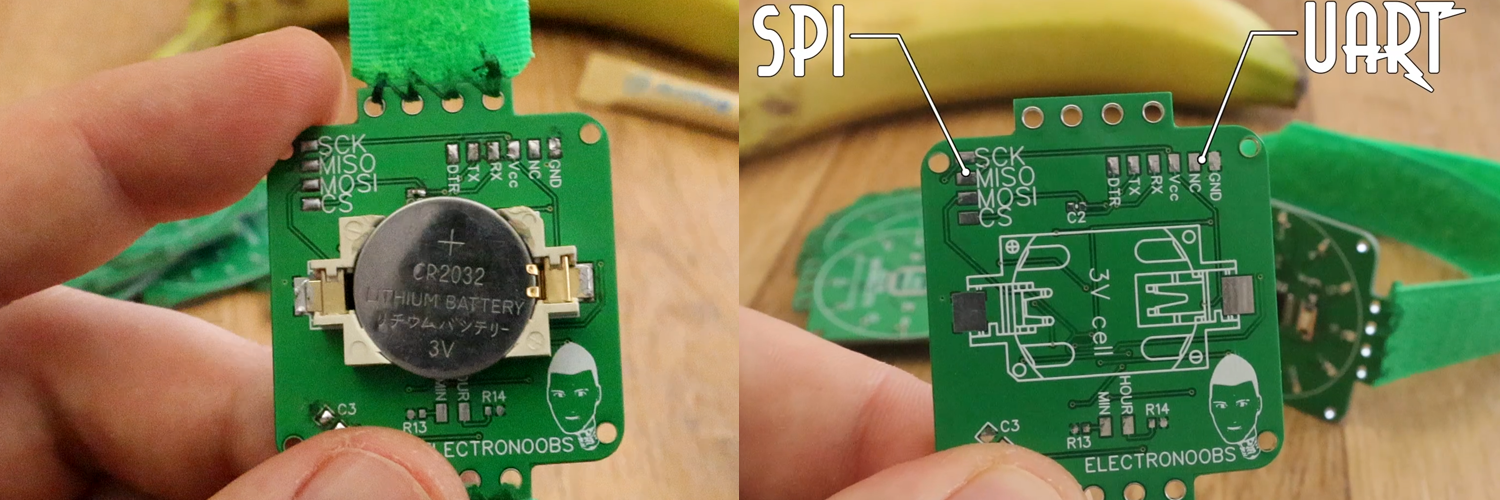
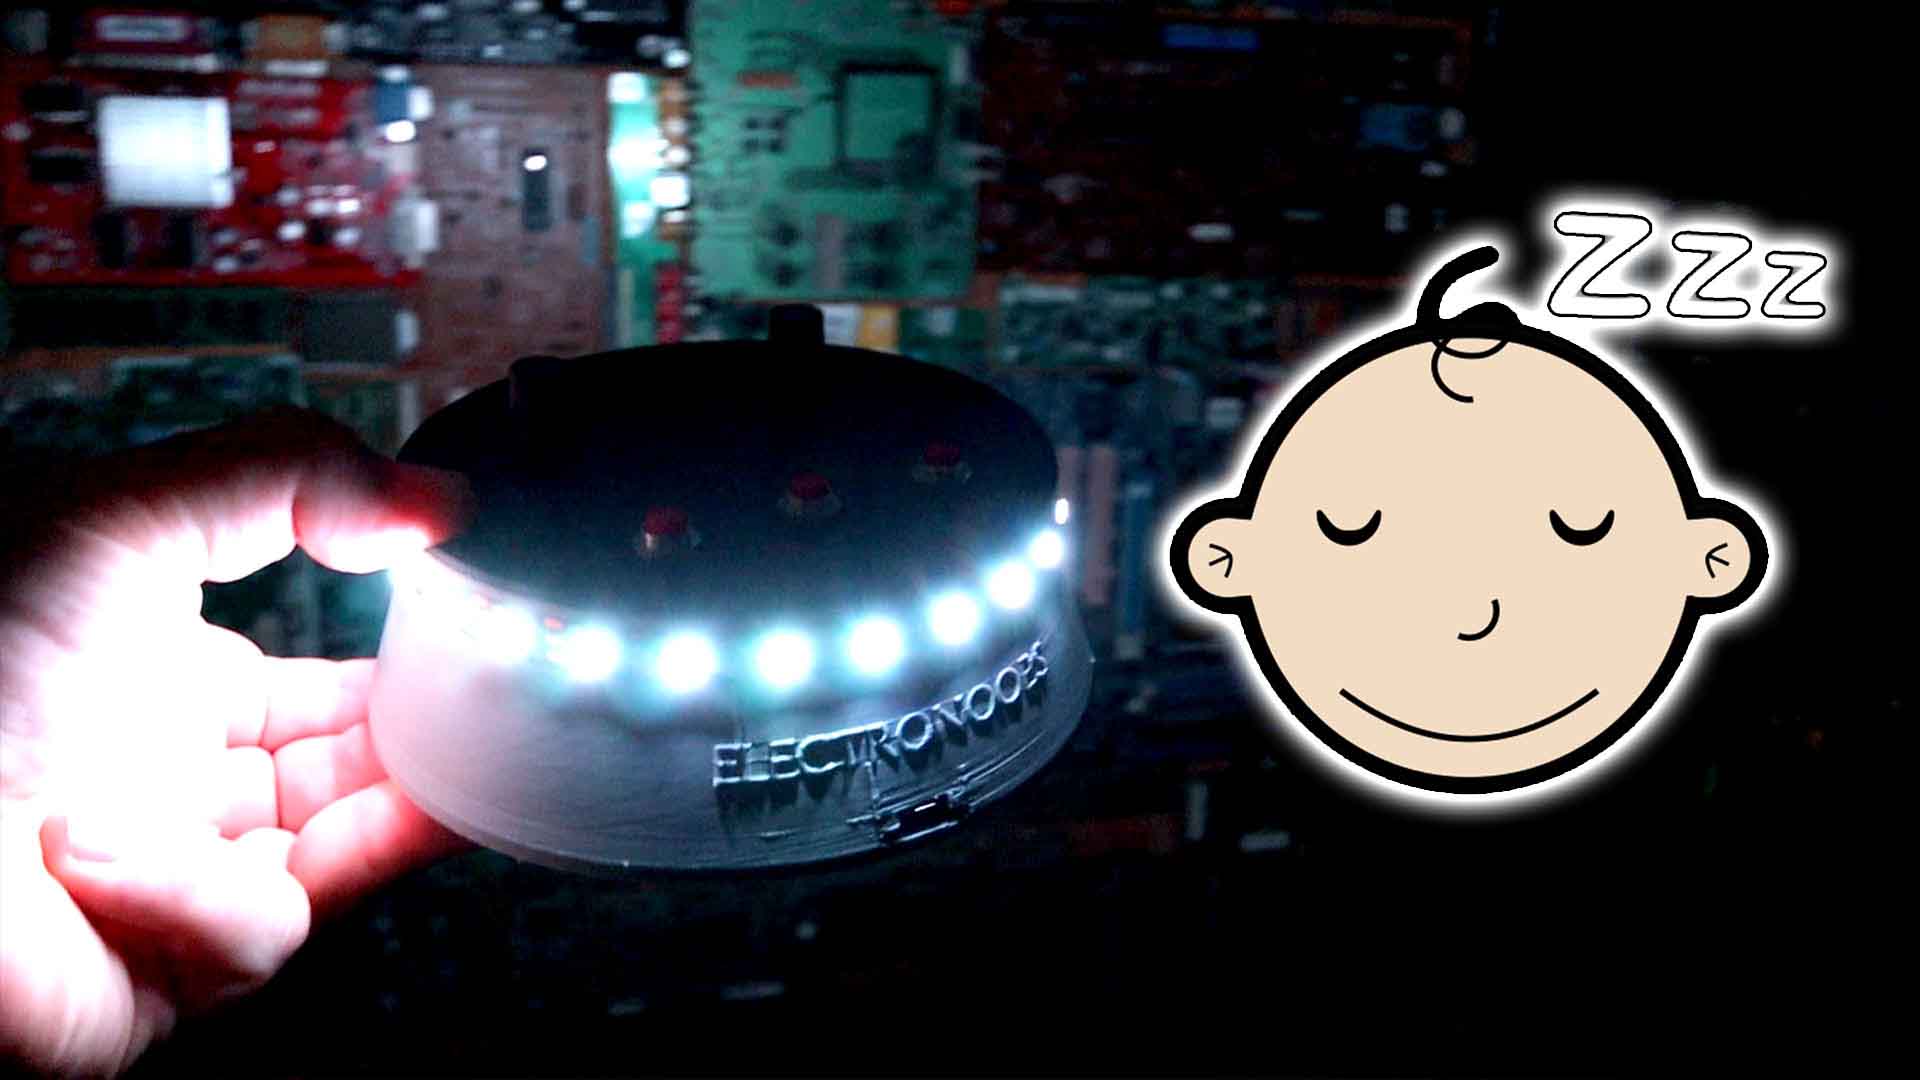
So, I receive the boards and made a quick inspection. I first soldered the ATMega328p-AU chip, whic is the SMD version. Then the LEDs and resistors and battery socket on the back. In order to sue this board without a crystal clock, I had to butn the 8MHz internal clock bootloader to it using the SPI port on the back of the PCB. See more about that here in this tutorial. Then I could butn the code to it without external clock so the board will look cleaner.

The PCB has a button in the middle. When that is pressed, we start counting time in order to detect a normal press or a long press. Long press will change between modes which are show time, change hour and change minute.


Next problem was solving the power consumption. Normally, the board will draw around 8mA of current when no LED is ON and 12mA when displaying time. The battery is 250mAh so it won't last too much. For that I've used bits of code to lower power consumption. I've turned off timer 0 and 2 since I don't need those. Also turned off the UART and i2c ports and also the ADC. Now, the button is connected to a analog input so I do need the ADC. For taht, each time the button is pressed, the ADC is activaded for a short time and then turned off. That reduced the consumption to under 3mA so it should last a few days.


I program the board and now, I press the button and the hour LED will stay On for some time and the minute will blink 4 times. That's how we know time. Now, yes, the range is from 0-5, 5-10 and so on. If we press the button a long press, we enter the time set mode. We push the button as many times as needed to reach the desired hour. Long press again and now do the same for tne minute and that's it.


Help me by sharing this post

Go back ↞ See other blog→


Affiliate Disclosure

ADVERTISERS


PCBWAY PCB service


Curso Arduino Online nivel bajo